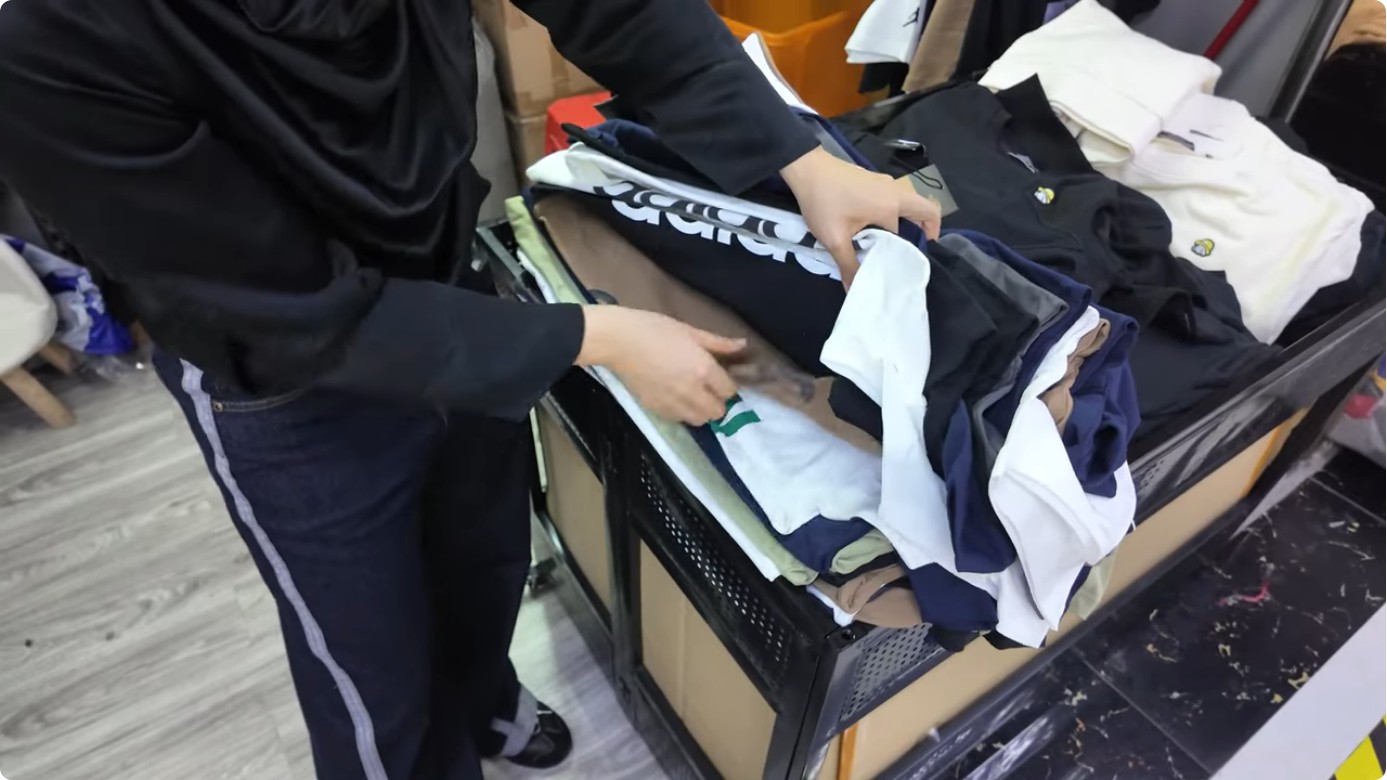
Turning a clothing idea into a manufactured product is where creativity meets precision. For brands, gyms, and teams sourcing custom sportswear, the initial sketch is more than just an artistic expression—it’s the foundational document that dictates feasibility, cost, and final quality. A clear, detailed design sketch paired with a comprehensive tech pack acts as the universal language between your vision and a manufacturer’s capabilities. This guide bridges that gap, showing how to transform your conceptual drawings into production-ready specifications that OEM and ODM factories can execute efficiently, minimizing costly revisions and ensuring your activewear—whether a performance tracksuit or a branded hoodie—turns out exactly as intended.
We’ll break down what manufacturers actually need from your design, how to choose the right sketching method for your project, and the critical details that must be included to move from idea to sample. This isn’t about artistic perfection; it’s about functional communication that respects the technical realities of garment construction, fabric behavior, and scalable production.
Why Your Sketch Matters More Than You Think
In the custom sportswear manufacturing process, your design sketch is the single most important piece of information you provide. It’s the starting point for pattern making, fabric consumption calculations, and labor estimation. A vague sketch leads to ambiguous patterns, fabric waste, and samples that miss the mark. A precise, annotated sketch, however, provides a clear roadmap.
You may also like: The Baggy Shirt for Men: Style Guide & Custom Manufacturing Insights
What Matters Most to a Manufacturer: Factories operate on specs, not interpretation. They need to see:
- Construction Details: How are seams finished? What stitch type is used? Where are zippers, logos, or panels placed?
- Fabric Intent: Is it a lightweight moisture-wicking knit for a tank top or a heavyweight fleece for a hoodie? The sketch should imply the fabric’s drape and weight.
- Fit & Measurements: Is the cut loose for movement or compressive? Your sketch should indicate key points like armhole depth or leg taper.
- Trims & Hardware: Type of elastic, drawstring material, button style, and label placement.
If these elements are missing from your initial submission, the manufacturer will have to guess, which almost always results in multiple expensive sample rounds. Providing a complete picture upfront respects the production timeline and budget.
The Core Decision: Hand-Drawn vs. Digital Sketches
The method you choose impacts speed, cost, and precision. Here’s a breakdown of the tradeoffs for a custom sportswear project.
| Factor | Hand-Drawn Sketch | Digital 2D Sketch (e.g., Adobe Illustrator) | 3D Digital Model (e.g., CLO, Browzwear) |
|---|---|---|---|
| Speed & Cost | Fastest to create initially; no software learning curve. | Moderate initial learning; very fast for revisions and duplication. | Slowest to create; requires significant training and software cost. |
| Precision & Clarity | Can be ambiguous; relies on artist skill and annotation. | High precision; clean lines, easy to add dimensions and callouts. | Extremely high; shows fabric drape, tension, and realistic fit on a virtual model. |
| Revision Efficiency | Poor; requires redrawing. | Excellent; layers and objects can be edited instantly. | Excellent; fit and fabric can be adjusted in real-time. |
| Manufacturer Adoption | Universal but requires dense annotation. | Industry standard; easily understood and converted to patterns. | Emerging standard; allows for virtual sampling, reducing physical sample rounds. |
| Best For… | Early brainstorming, small simple projects, communicating initial concept. | Most OEM/ODM projects; creating official tech packs and spec sheets. | Complex fits, high-value collections, brands wanting to minimize physical sampling. |
Table: Comparing sketch methods for custom sportswear development.
Building a Production-Ready Tech Pack: Beyond the Sketch
The sketch is the hero, but the tech pack is the instruction manual. A tech pack (or specification package) is a document—often a PDF—that contains everything a factory needs to build your garment. Here is a checklist-style breakdown of essential components, tailored for activewear.
- 1. Flat Sketch (Technical Sketch): A clean, 2D drawing of the garment laid flat, showing all seams, stitching lines, and construction details from front and back. Use solid lines for seams and dashed lines for stitching. This is non-negotiable.
- 2. Annotated Diagram: The flat sketch with callouts (numbered or arrowed) that correspond to a details page. Label every unique feature: “1. Flatlock stitch at side seam,” “2. 2×2 rib knit cuff,” “3. Reflective tape placement.”
- 3. Fabric & Trim Specs: Provide specific fabric names, compositions (e.g., 92% polyester, 8% spandex), weights (e.g., 280gsm), and finishes (e.g., brushed interior, DWR coating). For trims, specify material, size, color code (e.g., Pantone orfactory standard), and supplier if you have one. Linking to a textile standards resource can help clarify terminology.
- 4. Construction Details: Describe how each seam is finished (e.g., coverstitch, serged, taped). Note any special operations like laser cutting, bonding, or padding insertion. For sportswear, specify if a stitch is for mobility (e.g., a “four-way stretch” seam) or durability.
- 5. Graded Spec Sheet: A spreadsheet with precise measurements for each size in your range (S, M, L, XL). Include key points like chest width, body length, sleeve length, and inseam. Specify the measuring method (e.g., “laid flat, measured at side seam”). This is critical for grading—the process of creating patterns for all sizes from a base pattern.
- 6. Color Standards: Use physical color standards (like Pantone fabric swatches) or precise digital codes (Pantone TPX, RAL, or factory lab dip references). Never rely on a screen color.
- 7. Artwork & Logo Placement: Provide vector files (EPS, AI, SVG) for all prints, embroidery, or woven labels. Include exact placement measurements from specified points (e.g., “Logo center, 8″ down from neckline”).
- 8. Packaging Instructions: How should each garment be folded? What polybag size and type? Are hangtags or security tags included?
The Seam Allowance and Stitch Dilemma: A Common Pitfall
One of the most frequent points of failure in custom garment development is the designer’s omission of seam allowance specifications. Seam allowance is the fabric between the cut edge and the stitching line. Its width depends entirely on the fabric type, stitch type, and seam purpose.
- A serged seam on a lightweight tee might use a 3/8″ allowance.
- A flat-felled seam on a heavy sweatshirt for durability might use a 1″ allowance.
- A bonded seam on a technical jacket might have no allowance at all, as it’s glued.
Decision Point: If you’re unsure, leave this to the pattern maker. However, you must specify the construction method (“flat-felled seam,” “coverstitched hem”), which implies the allowance. For complex activewear with multiple fabric panels (like a performance polo with mesh underarms), detailing each seam type is essential for the correct pattern and sewing sequence.
Translating Your Vision: The Manufacturer’s View
When a factory receives your tech pack, here’s what happens behind the scenes, and where your input directly influences outcome and cost.
Also read: Different Kinds of Embroidery: A Sourcing Guide for Custom Sportswear Brands
- Pattern Making: A pattern maker creates the paper or digital pattern from your flat sketch and measurements. This is the template for cutting. A clear sketch prevents misinterpretation here.
- Marker Making & Fabric Estimation: The pattern is laid out (nested) on a virtual or physical marker to maximize fabric usage. Your choice of fabric width and pattern piece size directly impacts fabric consumption and cost. Elaborate, multi-panel designs increase waste.
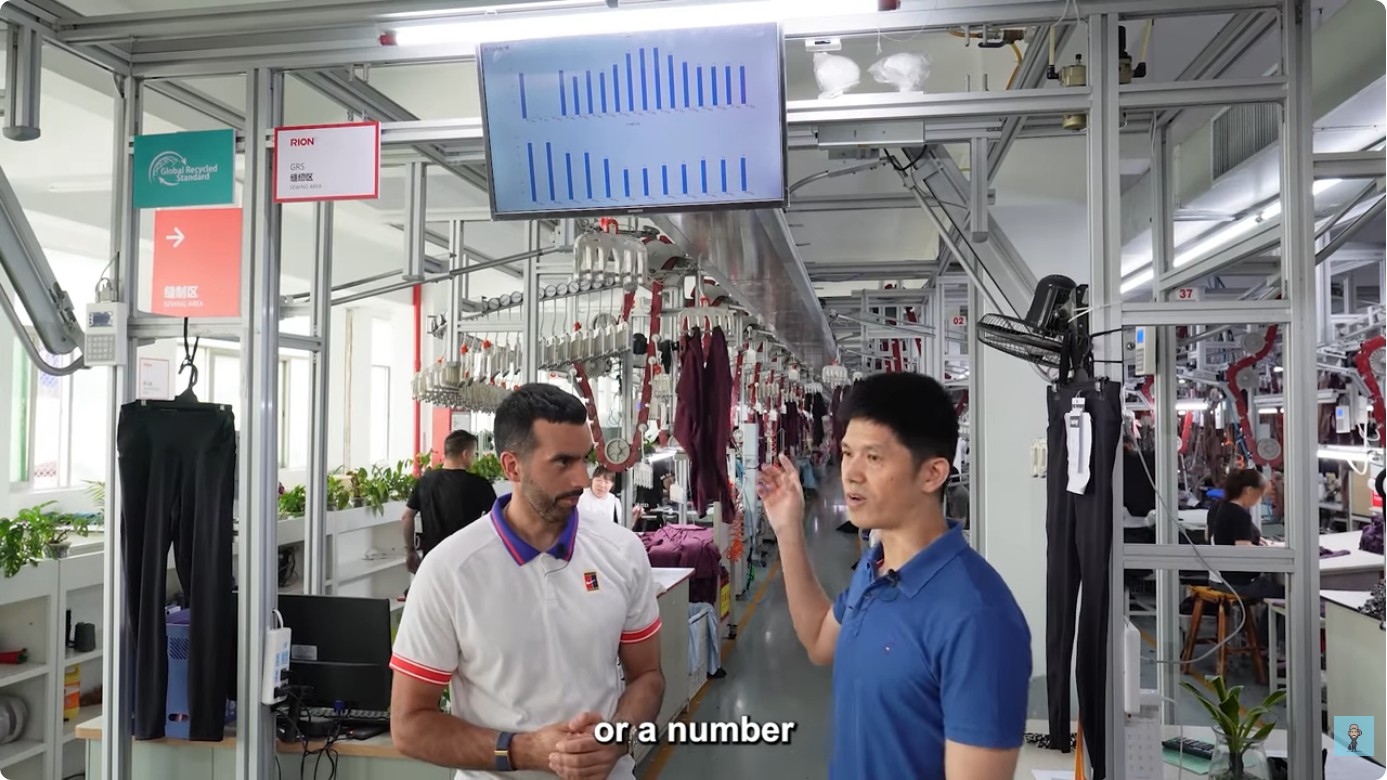
- Sample Sewing: A first sample (often called a “prototype” or “counter sample”) is made using your specified fabrics and trims. This is the first physical reality check.
Sourcing Reality: Your design must align with available materials. For instance, if you specify a rare 30gsm silk-like knit for a basketball jersey, a factory may need to source it from a specific mill, impacting lead time and MOQ. Conversely, using a factory’s standard performance fabric library can drastically reduce costs and speed up production. Be prepared to discuss fabric alternatives if your first choice is prohibitive.
Common Mistakes That Derail Custom Sportswear Projects
Even experienced designers can fall into these traps when moving from sketch to production. Avoiding these saves time and money.
- The “Artistic” Sketch: Sketches with heavy shading, texture, and artistic perspective make it impossible to see seam lines and construction. Always provide a clean, flat technical sketch for production.
- Missing Internal Details: Forgetting to sketch the inside of a hood (lining attachment), the back of a neckline (tape), or the interior of a pocket (bag shape). Factories need to see these to build them correctly.
- Ignoring Fabric Behavior: Sketching a tight-fitting compression short in a heavy cotton fleece. The sketch doesn’t communicate that the fabric won’t provide the intended stretch or recovery. Your fabric spec must match the functional intent of the design.
- Vague Logo Instructions: Saying “logo on left chest” without a precise measurement from the neckline or sleeve seam. This leads to inconsistent placement across hundreds of garments.
- Assuming Standard Construction: Believing all factories sew a crewneck tee the same way. Stitch type, neck tape width, and shoulder join methods vary. Specify or ask for the factory’s standard and approve it.
Frequently Asked Questions for Designers & Brands
How detailed does my initial sketch need to be for a quote?
For an accurate initial quote, a clear flat sketch with key annotations on fabric (e.g., “lightweight jersey” vs. “heavy fleece”) and a target retail price point is sufficient. Factories can estimate based on complexity and standard fabrics. However, a detailed tech pack is required for a firm quote and to start sample making.
Can a factory help me refine my design if my sketch isn’t perfect?
Yes, reputable OEM/ODM partners have in-house pattern makers and designers who can advise on construction feasibility, suggest cost-saving alternatives, and help translate your concept into a manufacturable design. This is a key value of ODM services. Bring your ideas, and they can help build the spec.
What if I don’t have experience creating tech packs?
Many factories offer tech pack creation as a service, especially for ODM projects. You can provide inspiration images, mood boards, and rough sketches, and their team will develop the formal technical package. This is a common and effective workflow for brand owners who are strong on vision but need production support.
How do 3D digital sampling and virtual fitting change the process?
3D modeling allows you to review a realistic virtual sample—checking fit, fabric drape, and even print placement—before any physical sample is cut. This can reduce the number of physical sample rounds from 3-4 to 1-2, significantly cutting lead time and sampling costs. Ask your manufacturer if they offer 3D sampling capabilities, especially for intricate activewear designs.

Whether you’re a startup brand or an established retailer, we manufacture custom sportswear at competitive MOQs. Reach out to start your project.
Helpful tip: Where Are Nike Products Made? A Look at Global Manufacturing and What It Means for Your Brand