
When you’re sourcing custom athletic apparel—whether for a fitness brand, a sports team, or a retail line—embroidery is often the premium choice for logos, branding, and detailing. It delivers a tactile, durable finish that prints can’t match, especially on performance fabrics like polyester fleece or moisture-wicking knits. But “embroidery” isn’t a single process. The technique you choose fundamentally impacts the look, feel, cost, and production feasibility of your custom hoodies, team jackets, or branded track pants. Understanding the different embroidery types is crucial for communicating your vision to a manufacturer and getting the quality you expect at the right price point.
This guide breaks down the primary embroidery methods used in sportswear manufacturing. We’ll move beyond basic definitions to explore production realities: minimum order quantities (MOQs), design limitations, fabric compatibility, and the specific questions you need to ask your factory. Whether you’re a new brand owner or an experienced buyer, this will help you make informed decisions that align with your product’s function and your budget.
Quick Reference: Embroidery Types at a Glance
Before diving deep, here’s a snapshot of how each major embroidery type is typically applied in the activewear and custom apparel space. Use this to orient yourself to the options.
- Flat Embroidery: The standard. Stitches lie flat on the fabric surface. Ideal for most logos on t-shirts, polo shirts, and softshell jackets.
- 3D Puff (Foam) Embroidery: Uses foam under stitches for a raised, dimensional effect. Popular on caps and for bold, standalone logos on hoodies and sweatshirts.
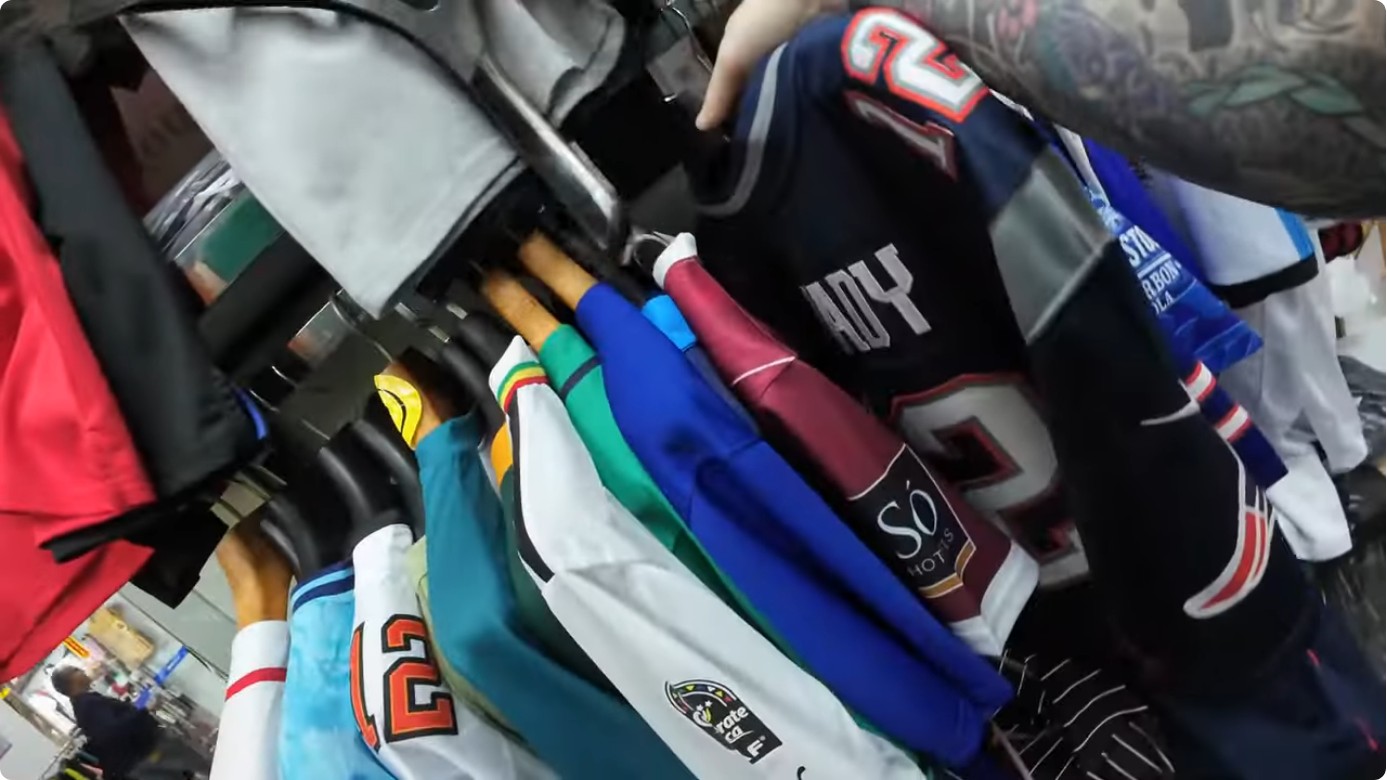
- Tackle Twill: Not true embroidery, but a sub-layer. A twill fabric patch is cut to shape, then zig-zag stitched onto the garment. The classic look for varsity jackets, letterman patches, and heavy-duty team logos.
- Appliqué: A fabric cut-out is sewn onto the base garment, with edges finished by satin stitch or other embroidery. Used for large, multi-color designs where traditional embroidery would be too dense and stiff.
- Chenille: Creates a fuzzy, looped texture (like a letterman jacket patch). Made with a specialized yarn and stitch. Best for vintage, collegiate, or retro athletic aesthetics.
- Schiffli (Machine Embroidery on Sheer/Stretch): A high-speed, industrial process often used for delicate, all-over patterns or fine detail on performance mesh. Requires specialized equipment.
Flat Embroidery: The Workhorse of Branded Sportswear
Flat embroidery is the foundation of most custom logo work. A digitized design is stitched directly onto the garment with threads that lie flush against the fabric. It’s versatile, relatively fast, and produces a clean, professional result on a wide range of materials.
Production & Sourcing Considerations
For a buyer, the key variables in flat embroidery are stitch count and color changes. The stitch count determines sewing time and thread usage, directly impacting cost. A complex, detailed logo with many small elements and color transitions will have a high stitch count. Each time the machine needs to switch thread colors, the operator must stop and re-thread, adding time. When requesting a quote, always provide your artwork so the factory can generate an accurate digitized file and estimate these factors.
Fabric compatibility is critical. Flat embroidery works best on stable, non-stretchy fabrics like cotton pique (polo shirts) or woven nylon shell. On highly stretchy knit fabrics like performance polyester used in running t-shirts, the embroidery can cause puckering or look distorted if the garment is worn. A skilled digitizer will adjust stitch direction and density (underlay) for knits, but it’s a design constraint to discuss upfront. For stretchy activewear, some manufacturers recommend a stabilizing backing—a temporary fabric or film that supports the stitches during sewing and is torn away afterward. This adds a step and a small cost.
When to Choose Flat Embroidery
- Small to medium-sized logos (typically under 4 inches in any dimension).
- Logos with moderate detail and 1-3 colors.
- Apparel where a low-profile, flexible finish is needed (e.g., a logo on the chest of a golf polo or the sleeve of a basketball jersey).
- Most standard team and corporate branding.
3D Puff Embroidery: For Maximum Visual Impact
3D puff, often called foam embroidery, creates a raised, sculptural effect. A special foam is placed under the stitching, which compresses it into a lofty, three-dimensional shape. It’s highly visible and tactile, making it a favorite for statement pieces.
Production Nuances and Limitations
The foam adds significant bulk. This makes 3D puff unsuitable for any garment that will experience a lot of friction or abrasion against the skin, like the inside of a collar or the underside of a cap brim. It’s best used on the front panels of caps, the upper chest or back of hoodies, and on outer shells where the puff won’t be rubbed. The foam also limits design complexity. The stitches must be large and widely spaced to allow the foam to expand properly. Fine lines, small text, and intricate details will not work—they’ll either sink into the foam or cause it to tear. Digitizers use a specific puff stitch pattern, usually long, straight runs.
Color choice is another factor. The foam color shows through between the stitches. You typically match the foam to the thread color for a solid look, or use a contrasting foam for a unique effect (e.g., white thread on black foam). This is a detail to specify. Minimum Order Quantities (MOQs) for 3D puff can sometimes be higher than flat embroidery because the foam is an additional material to stock and the process is slightly slower. Always confirm this with your supplier.
Ideal Use Cases
- Large, bold logos on the front of dad hats, bucket hats, and beanies.
- Brand name or slogan across the back of a hoodie or crewneck sweatshirt.
- Statement patches on backpacks or gym bags.
Tackle Twill & Appliqué: For Large, Multi-Color Patches
When a design is too large or complex for direct embroidery, tackle twill and appliqué are the solutions. They involve creating a separate patch and attaching it, drastically reducing stitch count and allowing for cleaner color separation.
Tackle Twill: The Team Standard
Tackle twill starts with a piece of polyester or cotton twill fabric (often with a heat-cut or laser-cut edge). This fabric patch is then tackled—zig-zag stitched—onto the garment. The zig-zag stitch hides the raw edge of the twill, creating a clean border. It’s the iconic look of professional sports team jerseys (NFL, NBA, etc.) and letterman jackets.
For manufacturers, tackle twill is efficient for large-area logos. Instead of thousands of stitches filling a big space, you have a fabric base with relatively minimal stitching around the perimeter and potentially some internal tack points for durability on heavy-use items. This can lower overall cost compared to a dense flat embroidery piece of the same size. However, it adds a material layer, which can feel slightly stiffer than direct embroidery and may have a raised edge. The twill fabric itself comes in various weights and textures, so you can specify a hand feel that matches your garment.
Appliqué: Creative Fabric Layering
Appliqué is similar but more creative. Any fabric—satin, nylon, printed twill—can be cut into a shape (by laser, die-cut, or hand) and sewn onto the base garment. The edges are finished with a decorative satin stitch or other embroidery pattern. This technique is perfect for achieving specific textures or incorporating printed designs. For example, a brand might use a printed camouflage fabric as an appliqué patch on a tactical cargo pant or a hoodie.
Key Decision Factors: Twill vs. Appliqué
| Feature | Tackle Twill | Appliqué |
|---|---|---|
| Typical Edge Finish | Zig-zag (tack) stitch, functional and clean | Decorative satin stitch or other embroidery |
| Primary Fabric | Standard twill (poly/cotton), often heat-cut | Any fabric (satin, printed cloth, felt, etc.) |
| Feel & Flexibility | Moderate stiffness from twill layer and zig-zag edge | Varies by base fabric; satin can be stiffer, cotton softer |
| Complexity/Cost | Generally lower for large, block-color logos | Can be higher due to fabric cutting and decorative stitching |
| Best For | Sports team names/numbers, classic varsity style | Themed designs, incorporating prints, artistic patches |
Specialty Embroidery: Chenille, Schiffli, and Beyond
For specific aesthetic goals, several specialized techniques come into play. These often come with higher minimums and require factories with dedicated equipment and expertise.
Chenille (Letterman Embroidery)
Chenille uses a thick, fuzzy yarn and a special looped stitch to create a plush, felt-like patch. The classic example is the varsity letter on a wool baseball jacket. It’s almost always done as a separate patch (a chenille patch) that is then sewn or glued onto the garment. The process is slower and the materials (chenille yarn, felt backing) are more expensive than standard thread and twill. It’s a niche, vintage look that commands a premium price and is best suited for small-batch, high-margin collegiate or retro collections.
Schiffli (Machine Embroidery on Sheer/Stretch)
This refers to industrial, high-speed embroidery machines (Schiffli is a brand name that became generic). They are used for all-over embroidery on delicate or unstable fabrics like athletic mesh, sheer sportswear overlays, or stretchy swimwear. The secret is in the stabilizing—a water-soluble or tear-away stabilizer is absolutely essential to hold the fabric taut during sewing. This adds cost and complexity. If your design involves embroidering directly onto a large panel of stretch mesh shorts or a sheer sports bra, you must work with a factory that has Schiffli machines and experience with such substrates. The digitization must account for extreme fabric movement.
The Manufacturer’s Perspective: What You Need to Provide
To get an accurate quote and a quality product, your communication with the factory is everything. Here is a practical checklist of information and materials you must provide when sourcing embroidered sportswear.
- Final, High-Resolution Artwork: Provide a vector file (AI, EPS, SVG) if possible. Raster files (PNG, JPG) must be at least 300 DPI at the intended embroidery size. Do not send a low-resolution web graphic.
- Exact Placement and Size: Specify the location (e.g., “left chest,” “center back, 10 inches wide,” “right sleeve, 3 inches from cuff”) and the maximum dimensions your design can be. A factory’s digitizer needs these constraints.
- Thread Color Specifications: Use a standard thread color chart (like Madeira or Isacord). Provide Pantone (PMS) colors for matching, but understand thread may not be a perfect match. For critical color matching, request a physical thread sample approval before production.
- Embroidery Type Selection: State your preference (flat, 3D puff, tackle twill, etc.) and be prepared to discuss why. If unsure, ask the factory for a recommendation based on your garment and design.
- Quantity (MOQ): Know your target volume. Embroidery setup (digitizing, thread sorting, machine time) favors larger runs. Factories have different MOQs per embroidery head/type. For a simple flat logo, an MOQ of 20-50 pieces per style might be possible. For complex 3D puff or chenille, expect MOQs of 100+.
- Garment Specs: Provide the exact fabric composition and weight (e.g., “280gsm 100% polyester fleece,” “140gsm 92% polyester/8% spandex mesh”). This is non-negotiable for the factory to assess feasibility and choose the right stabilizer and needle.
Quality Markers and Common Pitfalls
What does good embroidery look like on a sportswear sample? Here’s what to inspect:
- Stitch Density & Tension: Stitches should be even and tight without causing the fabric to pucker or become stiff. Too loose, and the embroidery will look sparse and unravel. Too tight, and it will pull the fabric, distorting the design.
- Underlay: This is the base layer of stitches that anchors the design to the fabric. On knits and stretchy fabrics, a good underlay is essential to prevent shifting. Ask your factory about their underlay strategy for your specific garment.
- Thread Trims: Loose thread ends on the back of the garment are a sign of poor finishing. They should be neatly trimmed and secured.
- Registration: For multi-color designs, the colors should align perfectly. Misregistration is a digitizing or hooping error.
- Edge Cleanliness (for Appliqué/Twill):strong>: The edge stitch should be clean, with no raw fabric peeking through or skipped stitches.
Making the Final Sourcing Decision
Choosing an embroidery type is a balancing act between aesthetic desire, garment function, and production economics. A bold 3D puff logo on a heavyweight hoodie can be a bestseller. That same puff on a lightweight performance tee would be a disaster. A intricate, multi-color flat logo on a stretchy yoga tank may require a stabilizer that affects stretch recovery. A classic tackle twill number on a basketball jersey is expected and durable; an appliqué on the same jersey might add unwanted bulk.
Your best approach is to start with the garment and its use case. Is it high-movement? Will it be washed frequently? Is the fabric thin or thick? Then, overlay your design requirements. Be open to the manufacturer’s suggestions—they know what works on their machines and with their fabric suppliers. Request physical samples of different techniques on your actual garment fabric before committing to bulk. This sample cost is a critical investment that prevents costly mistakes.
Frequently Asked Questions from Buyers
How do I choose the right embroidery type for my activewear line?
Base your decision on three pillars: 1) Garment Fabric: Stretch mesh? Heavy fleece? Lightweight cotton? 2) Design Complexity: Size, number of colors, level of detail. 3) Target Price Point: 3D puff and chenille are premium; flat is standard; tackle twill for large logos is often cost-effective. For a performance line, prioritize techniques (like flat with proper underlay) that don’t inhibit movement or moisture-wicking. For a streetwear collection, you can prioritize bold aesthetics like puff or appliqué.
What is the typical MOQ for custom embroidered sportswear?
There is no single MOQ. It depends entirely on the factory, the embroidery type, and the number of colors/heads required. For standard flat embroidery on basic blanks, some OEMs may accept orders as low as 50 pieces per style. For more specialized techniques (3D puff, chenille, Schiffli) or for ODM projects where you’re developing a new garment from scratch, expect MOQs of 200-500 pieces or more. The setup cost (digitizing, thread sorting) is amortized over the run, so volume drives down the per-unit cost.
Can I get a perfect color match between my brand’s Pantone and the embroidery thread?
Do not expect a 100% perfect match. Embroidery thread is a different medium than print or dye. Reputable thread manufacturers provide their own color charts, which may correlate to Pantones, but there will be variance. The solution is to approve a physical thread sample sewn onto your garment fabric before production. This is a standard step for color-critical orders. The factory will use their closest match from their stocked thread, or in some cases, can source a custom-dyed thread for an additional fee and higher MOQ.
Is embroidery durable enough for performance and team sportswear?
Absolutely, when done correctly. Properly stitched embroidery is extremely durable and can outlast the garment itself. The key is using the right thread (polyester is standard for sportswear due to its strength and colorfastness) and the right stitch density for the fabric. Poorly digitized designs with excessive stitch count can cause fabric stress and cracking at the embroidery site, especially on stretch fabrics. A good factory will engineer the design for longevity on your specific material.
Planning to add these styles to your collection? We produce custom versions with your branding, fabric choice, and sizing — from sample to bulk. Contact our team for details.