
In the world of custom sportswear manufacturing, a beautiful sketch is just the starting point. The real magic—and the key to a flawless production run—happens in the translation from creative vision to precise, actionable specifications. This process, centered on comprehensive cloth design drawing and technical documentation, is the critical bridge between your brand’s aesthetic and the factory’s ability to execute it reliably at scale. For brands, gyms, and teams sourcing OEM or ODM services, understanding this bridge is non-negotiable for controlling costs, quality, and timelines.
This article is your practical guide through that process. We’ll move beyond the initial concept art to explore the specific deliverables manufacturers need: from mood boards that capture the feel to technical flats that define the fit, and spec sheets that dictate the materials and construction. You’ll learn how to structure your design package to minimize costly sample revisions, communicate effectively with production teams, and ensure your custom hoodie, tracksuit, or performance tee is produced exactly as you envision it.
The Design Package: More Than Just a Pretty Picture
When you approach a factory for custom activewear, your “design package” is your primary communication tool. A single stylized illustration of a logo placement is insufficient. A robust package provides unambiguous answers to the factory’s core questions: What exactly are we making? How should it fit and feel? What materials and methods must we use? Think of your design drawings not as art, but as a legal and technical contract for the garment.
More advice: The Essential Guide to Sweater Styles for Custom Sportswear & Branded Apparel
The most effective packages are layered, building from broad creative direction down to minute technical detail. This layered approach allows factory pattern makers and sample developers to understand the intent behind the details, leading to smarter problem-solving during sampling. For instance, a mood board showing “athletic vintage” might explain why a designer wants a slightly boxy fit on a modern performance tee, preventing the factory from “correcting” it to a standard slim fit.
1. The Mood Board & Creative Direction
This is your opening statement. It sets the tone, aesthetic, and target consumer vibe. It’s less about precise measurements and more about evoking a feeling—”90s skate,” “high-performance minimalist,” “brutalist gym.” Include references for:
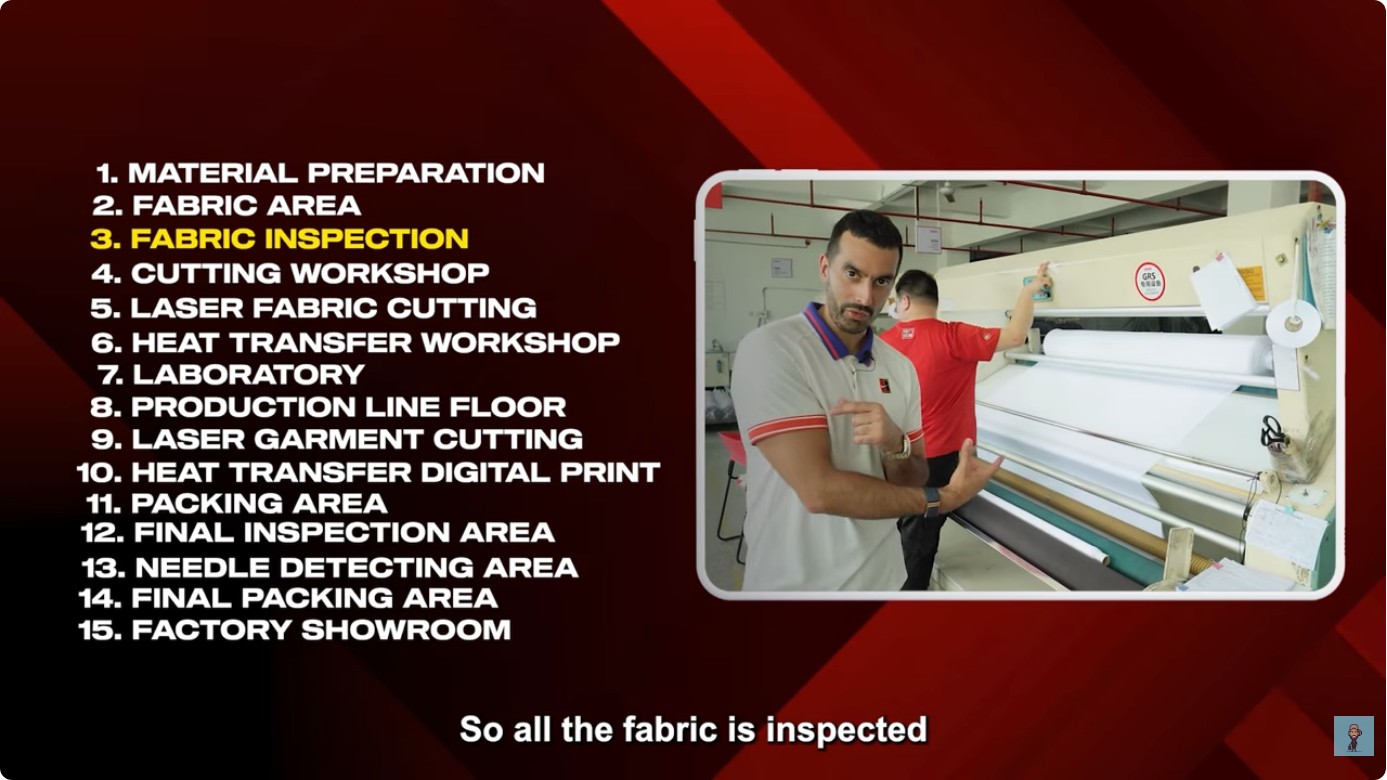
- Fabric & Texture: Swatches of desired fabric hand (e.g., brushed fleece, smooth nylon, stiff canvas). Even if using a factory’s standard fabric, showing the weight and texture you aim for is crucial. Reference standards like fabric weight (GSM).
- Color Palette: Use Pantone Color Codes (e.g., PMS 654 C) whenever possible. Screenshots or fabric dye references are helpful, but factory dyers work from standardized systems.
- Silhouette & Fit: Images of desired overall shape—relaxed, compressive, cropped, oversized. Note that “oversized” must later be defined with measurements.
- Details & Hardware: Zipper types (YKK #5 vs. coil), button styles, drawstring finishes, cuff types.
Production Takeaway: A clear mood board prevents the factory from defaulting to their stock interpretations. It signals that you have a specific vision, encouraging them to source or develop the right materials and details from the start.
2. Technical Flat Drawings (Tech Packs / Spec Sheets)
This is the heart of your cloth design drawing package for manufacturing. A technical flat is a 2D, accurate, scaled illustration of the garment as if it were laid flat. It shows every seam, stitch, and design element from the front and back (and sometimes inside). It is not a stylized illustration.
- What it Shows:
- All stitching lines and seam types (e.g., flatlock, coverstitch, French seam).
- Placement and exact dimensions of logos, prints, embroidery, labels (neck, side, care).
- Placement of functional elements: pockets, vents, grommets, zipper pulls.
- Hem finishes (e.g., double-folded, coverstitched).
- Any distressing, cut-outs, or paneling.
- Annotations (Callouts): Use arrows and concise text to note critical construction details directly on the flat. For example: “1” indicating a bar tack at stress points, or “2×1 rib cuff.”
For activewear, these details are paramount. A wrong stitch type on a moisture-wicking tee can create bulky seams that irritate the skin. A misplaced pocket on cargo pants can ruin the functional utility. Your technical drawing is the blueprint that prevents these errors.
3. The Spec Sheet: The Quantifiable Heart
Attached to or integrated with your technical flats is the spec sheet—the table of measurements and fabric requirements. This is where design becomes data.
| Specification | What It Is | Why It Matters for Production |
|---|---|---|
| Point of Measure (POM) Diagram | A simple line drawing showing exactly where each measurement is taken (e.g., “Chest: 1″ below armhole, laid flat”). | Eliminates ambiguity. A “chest” measurement taken at different points yields different sizes. Factories need this to grade patterns accurately for all sizes in your range. |
| Bill of Materials (BOM) | A list of every fabric, trim, thread, and label with quantities per garment. | Allows the factory to source materials accurately. Specifying “main body: 300gsm 100% cotton fleece” vs. just “cotton” has massive cost and quality implications. |
| Fabric & Trim Specifications | Detailed specs: composition, weight (GSM), construction (knit/weave), finish (brushed, perforated), colors (PMS). | Defines the garment’s performance and feel. For performance wear, you might specify a specific ASTM test for tear strength or pilling resistance. |
| Tolerance Chart | The acceptable +/- deviation for key measurements (e.g., +/- 0.5″ for chest width, +/- 1/4″ for logo placement). | Sets realistic quality expectations. “Perfect” is subjective; a tolerance is objective. This is a critical point of negotiation between designer expectations and manufacturing reality. |
Production Takeaway: Incomplete spec sheets are the #1 cause of sample errors and production delays. Invest time here. If you don’t know a fabric GSM, ask your fabric supplier. If you’re unsure about a tolerance, discuss it with the factory. They can advise on what’s standard and achievable.
Related guide: The Collared Soccer Jersey: A Strategic Guide for Brands & Buyers
Bridging the Creative-Productive Gap: What Manufacturers Really Need
Factories excel at pattern making, cutting, and sewing. They are not mind readers for your brand’s aesthetic. Your job is to provide the creative logic. Here’s how to ensure your design drawings translate effectively:
- Contextualize Details: Instead of just drawing a seam, add a note: “French seam for interior comfort on skin-side of neckline.” This tells the factory why the extra labor cost is necessary, making them more likely to execute it correctly and not substitute it.
- Prototype with Standard Blocks First: Before investing in custom patterns, have the factory make a sample using their standard block (base pattern) for a tee or hoodie, with your fabrics and trims. This “fit sample” isolates variables—you’re judging your fabric choice and design details on a proven fit base. It’s a cheaper, faster way to validate materials before pattern grading.
- Provide Reference Garments: If possible, send a physical sample of an existing garment (your own or from a competitor) that has the fit and feel you want. Point to specific elements: “See how the shoulder seam falls here? That’s the drop I want.” This is often more effective than trying to describe a fit in words or measurements alone.
- Understand Factory Capabilities: Your design drawing should align with the factory’s specialty. A factory known for simple screen-printed tees may struggle with intricate 5-panel jogger construction with multiple zippers. When requesting quotes, share your full design package upfront so they can accurately assess capability and cost. A factory that says “yes” to everything without pushing back on your specs may not be the right partner.
Common Pitfalls & How to Avoid Them
Even with the best intentions, design-to-production handoffs can falter. Here are critical pitfalls:
- The Ambiguous Logo Placement: A drawing that shows a logo “on the left chest” without a measurement reference from a fixed point (e.g., “3” down from shoulder seam, centered”) will result in inconsistent placement across sizes and production batches. Always tie placement to a Point of Measure.
- Ignoring Fabric Behavior: A drawing of a draped, oversized hoodie on a model looks great. But on a 320gsm cotton fleece, that drape will be different than on a lightweight French terry. Your spec sheet must account for fabric properties. Work with the factory to understand how your chosen fabric will impact the final drape and fit.
- Overlooking Trim Sourcing: “Special zipper” or “unique drawstring” that isn’t specified with a part number or detailed sample can cause delays if the factory’s supplier doesn’t have an exact match. Provide samples or highly detailed references (brand, style, color code) for all trims.
- Forgetting the Inside: The interior finish is a major quality differentiator. Specify inside seam finishes (e.g., “taped raglan seams,” “coverstitched inside hem”). A cheap-looking interior can ruin the perceived value of an otherwise well-designed garment.
The Pre-Production Checklist: Before You Say ‘Go’
Once you’ve sent your design package and received an approved sample (sometimes called a “counter-sample” or “production sample”), run this final check before green-lighting bulk production:
- Measurement Compliance: The approved sample must be measured against your spec sheet. Have the factory provide a measurement report. Every point must fall within your defined tolerance.
- Visual & Tactile Approval: Is the fabric correct in hand, weight, and color? Are logos/prints sharp, aligned, and with correct color matching? Check under different lighting.
- Construction Integrity: Check seams for straightness and strength. Pull on stress points (shoulder seams, pocket corners). Ensure zippers glide smoothly and hardware is secure.
- Labeling & Packaging: Verify all woven labels, hangtags, and polybag packaging match your approved artwork and placement instructions.
- Documentation: Ensure the factory has the final, signed-off spec sheet, POM diagram, and BOM. Any verbal changes must be documented in writing and reflected in these master documents.
Is Your Design Package Production-Ready? Ask Yourself These Questions
Before you send your cloth design drawings to a potential manufacturing partner, run a critical eye over your package:
- Can a pattern maker, with no prior knowledge of my brand, draft an accurate pattern from my technical flats and POMs alone?
- If I gave my spec sheet to a fabric merchant, could they source exactly what I need without asking follow-up questions?
- Have I included notes that explain why certain details are important to my brand’s performance or aesthetic?
- Do I have a physical or digital reference sample for every unique trim, button, zipper, and fabric?
- Have I defined tolerances for key measurements, acknowledging that zero variance is impossible in bulk production?
If you answered “no” to any of these, your design package has gaps that will almost certainly lead to sample reworks and production headaches.
Whether you’re a startup brand developing your first collection or an established retailer expanding your activewear line, meticulous cloth design drawing and specification is the foundation of a successful custom manufacturing project. It transforms subjective ideas into objective instructions, aligning your creative vision with factory execution. It reduces risk, controls costs, and ensures that the garments arriving in your warehouse are the ones you designed.
Whether you’re a startup brand or an established retailer, we manufacture custom sportswear at competitive MOQs. Reach out to start your project.
You may also like: The Complete Guide to Goalie Cut Hockey Jerseys: Features, Sourcing, and Custom Manufacturing