Alright. You’re here because you want to know how to measure a jacket. Not some glossy influencer’s idea of “how to size your blazer.” I mean measure — like, tape-to-fabric, no-BS, factory-floor-level precision. The kind that stops returns before they happen. The kind that keeps your brand from getting roasted on Reddit because your XL fits like a medium.
This isn’t theory. This is what I’ve scribbled in margins, argued about in production meetings, and had thrown back at me by angry buyers who didn’t get why their winter launch imploded after 300 units shipped.
I’ve spent over a decade knee-deep in cut-and-sew lines across China, Vietnam, and Bangladesh. I’ve seen jackets bunched up on tables like dead birds because someone skipped one measurement. I’ve watched $47K orders get rejected over a half-inch in sleeve length. And yeah — I’ve made those mistakes too.
So let’s talk jacket measurement guide with size chart — not like a textbook, but like a field report. With coffee stains, crossed-out notes, and the occasional rant.
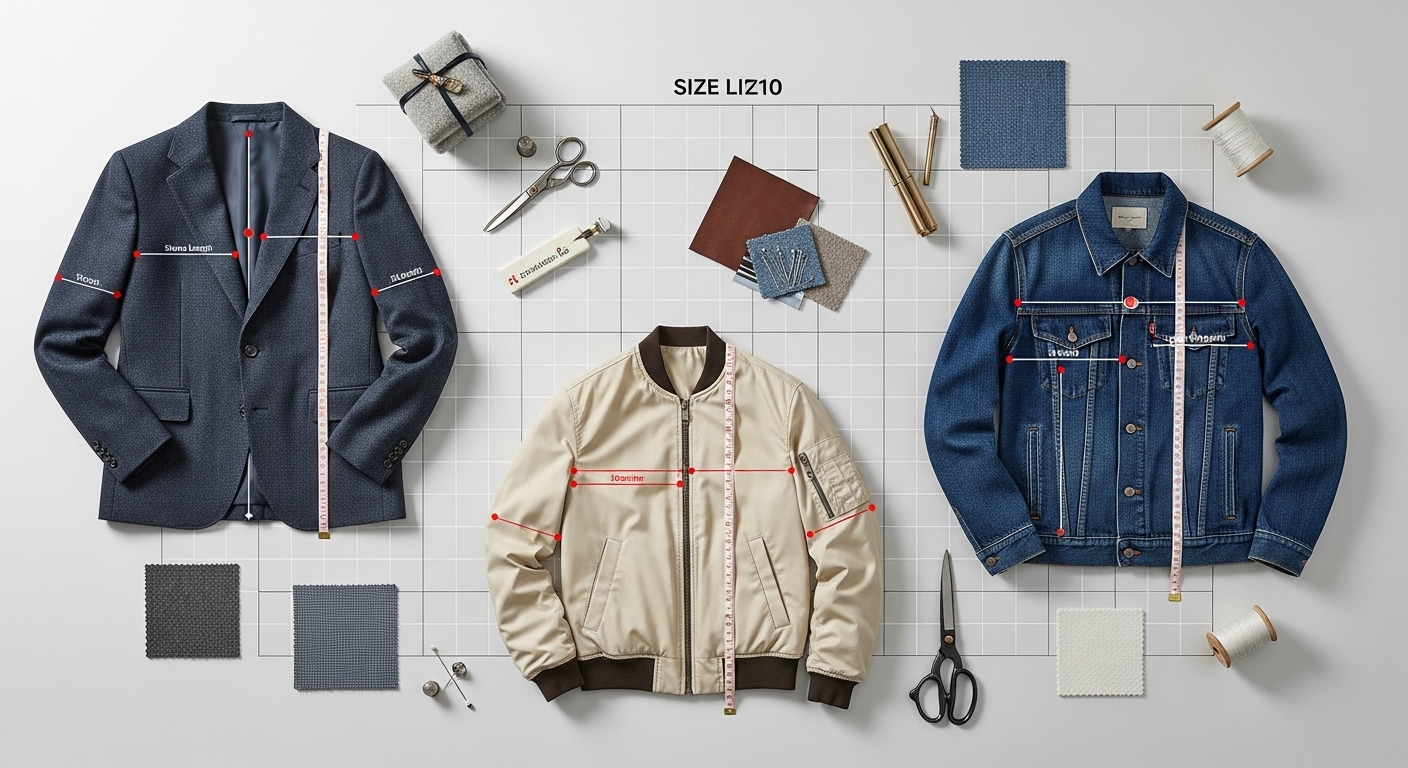
Chest / Bust / Body Width – Where Most Brands Die
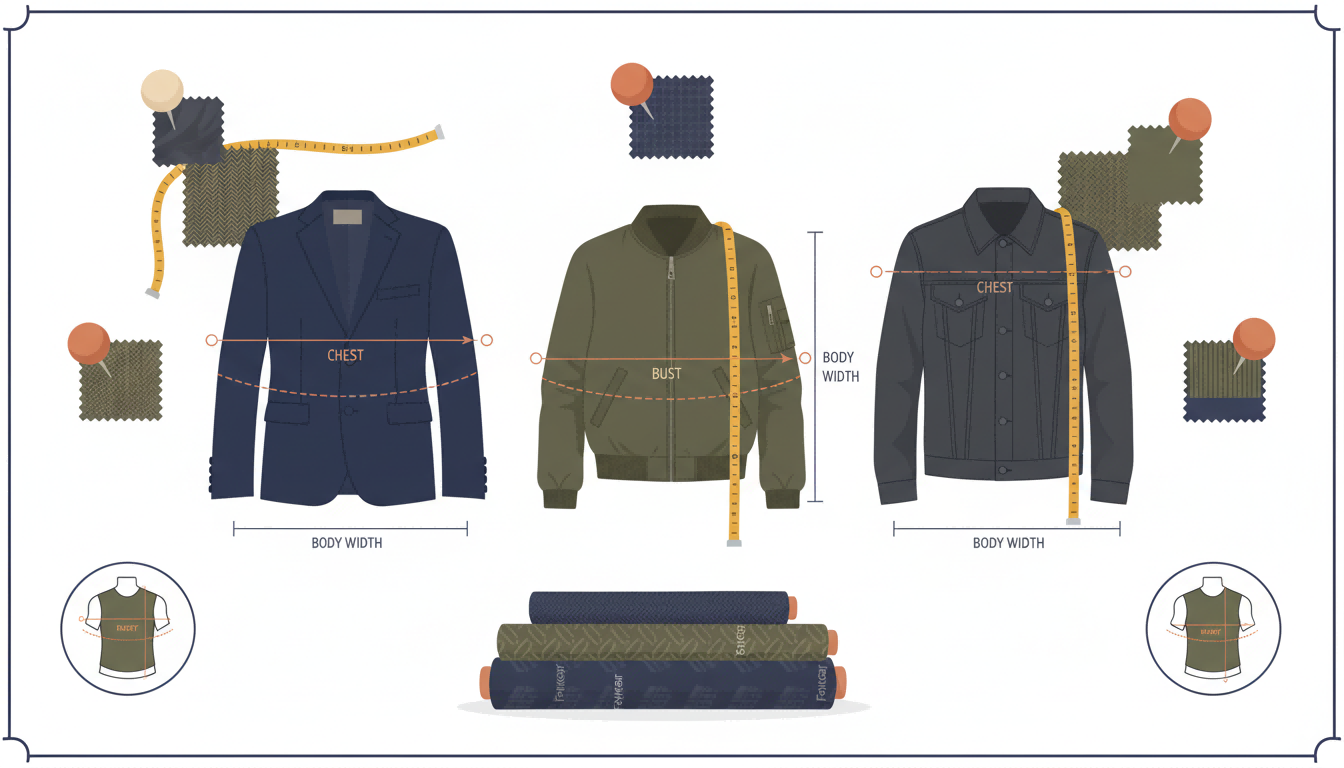
You’d think this was simple. “Just measure across the chest,” right?
Wrong.
At Fexwear, we had a client last year — boutique outerwear brand out of Portland — thought they could skip physical samples and go straight from CAD to bulk. MOQ: 800 units. Fabric: recycled polyester blend with 12% spandex. Tight fit, performance cut.
They sent us a digital spec sheet. Looked clean. Chest marked at 42”.
We pulled a prototype. Measured it flat: 41.5” at the chest, 1” below armhole cross point. Close enough? Nope.
But when the model wore it? Restricted breathing. Shoulder pull. One reviewer said it felt like being hugged by a robot.
Why?
Because “chest” isn’t just width. It’s where you measure it. And more importantly — fabric recovery.
That 12% spandex should’ve given 18–20% stretch. But due to poor knitting tension in the mill, actual recovery was 13%. So under stress — say, arms raised — the fabric didn’t bounce back. It stayed stretched, pulled at the seams, and created diagonal drag lines from armpit to side seam.
We caught this in a mid-line audit in 2023. Fixed it by adjusting the pattern ease by +1.25” and switching to a finer denier yarn. Cost them two weeks and $3K in re-sampling. Saved them a $118K disaster.
Lesson?
Don’t trust flat measurements alone. Always test on-body movement. Have your fit model squat, reach up, twist. Film it. Send it to your manufacturer.
And for god’s sake — if you’re using performance fabrics, check the stretch recovery %. Anything under 90%? Reject it. We saw this exact failure in 2 factories last year.
Bottom / Sweep – The Forgotten Red Flag
You know what gets overlooked? The sweep.
Everyone obsesses over shoulders, sleeves, collar height… meanwhile, the hem flares out like a mushroom because no one measured the bottom circumference properly.
It sounds dumb. But I’ve seen it kill collections.
Case in point: a European ski apparel brand. Sleek, minimalist design. Used a bonded seam construction — no stitching, just thermal tape. Looked sharp. Until the jackets arrived.
Bottom sweep was off by 3.5”. Not in every unit — some were fine. Others looked like they’d been through a spin cycle.
Turns out, the cutting table wasn’t calibrated. The laser cutter drifted over time, especially on heavier twill weaves. By the end of the roll, the hem width had skewed.
We use a shade banding test now at Fexwear — unroll three yards continuously and check for distortion. Caught a similar issue in Wuhan last summer with a batch of windbreakers. Saved 600 units from becoming seconds.
Pro tip:
Measure the sweep flat, from side seam to side seam, at the very bottom edge. Don’t round it. Don’t estimate. Use a rigid ruler if needed.
And if your jacket has drawstrings or elastic hems? Test them after washing. Shrinkage can tighten the sweep by up to 15%, depending on fabric composition. Check our fabric recommendations for shrinkage rates by material — it’ll save you headaches later.
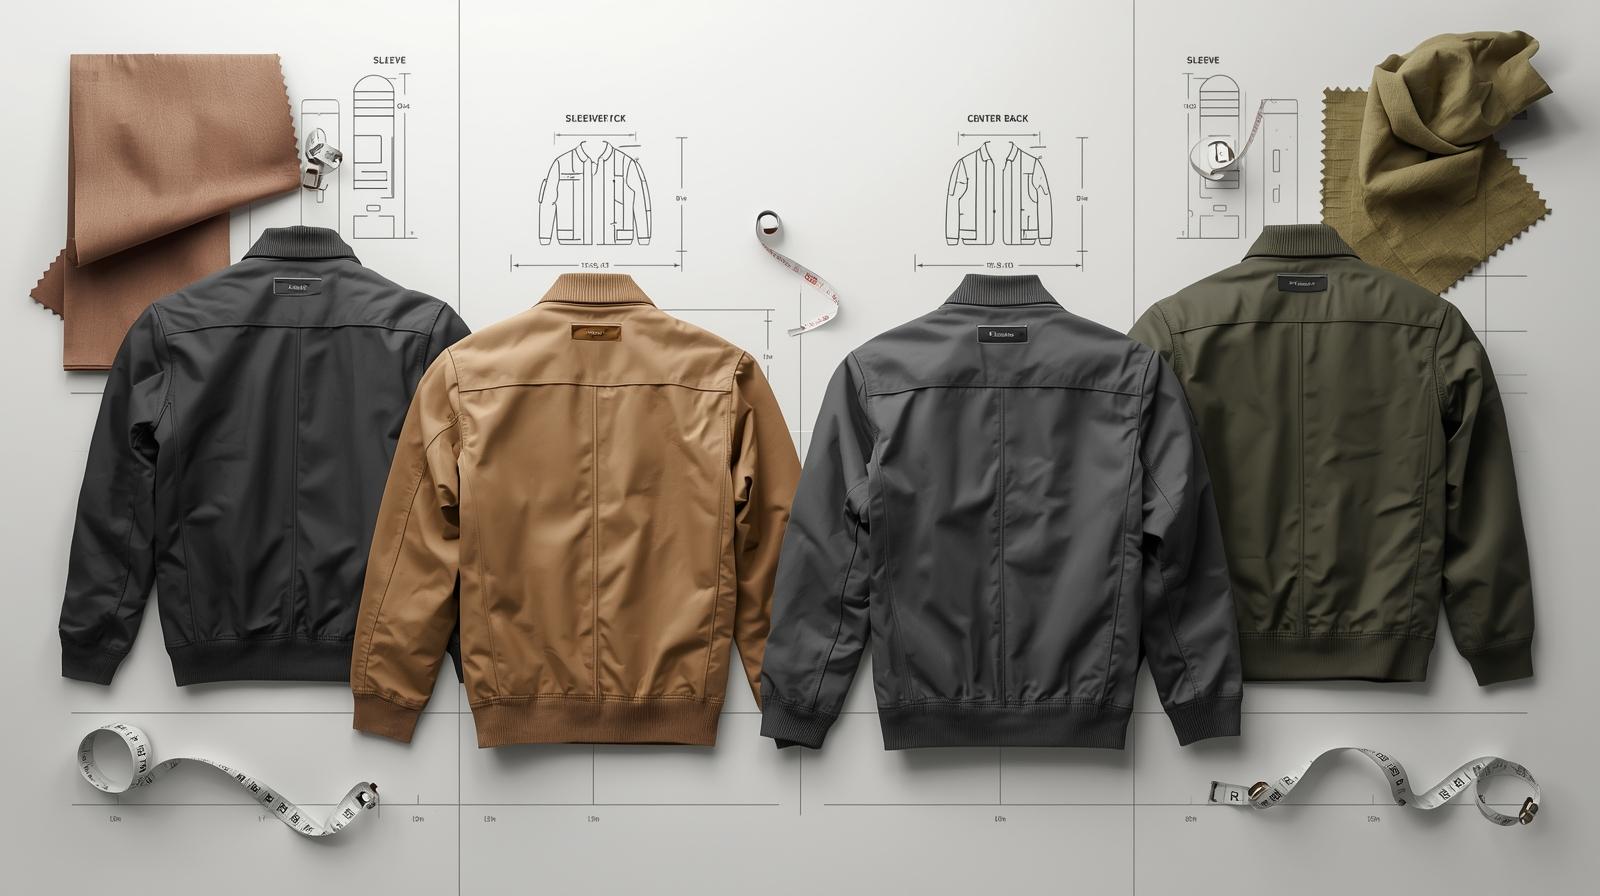
Center Back Length – The Silent Killer of Proportion
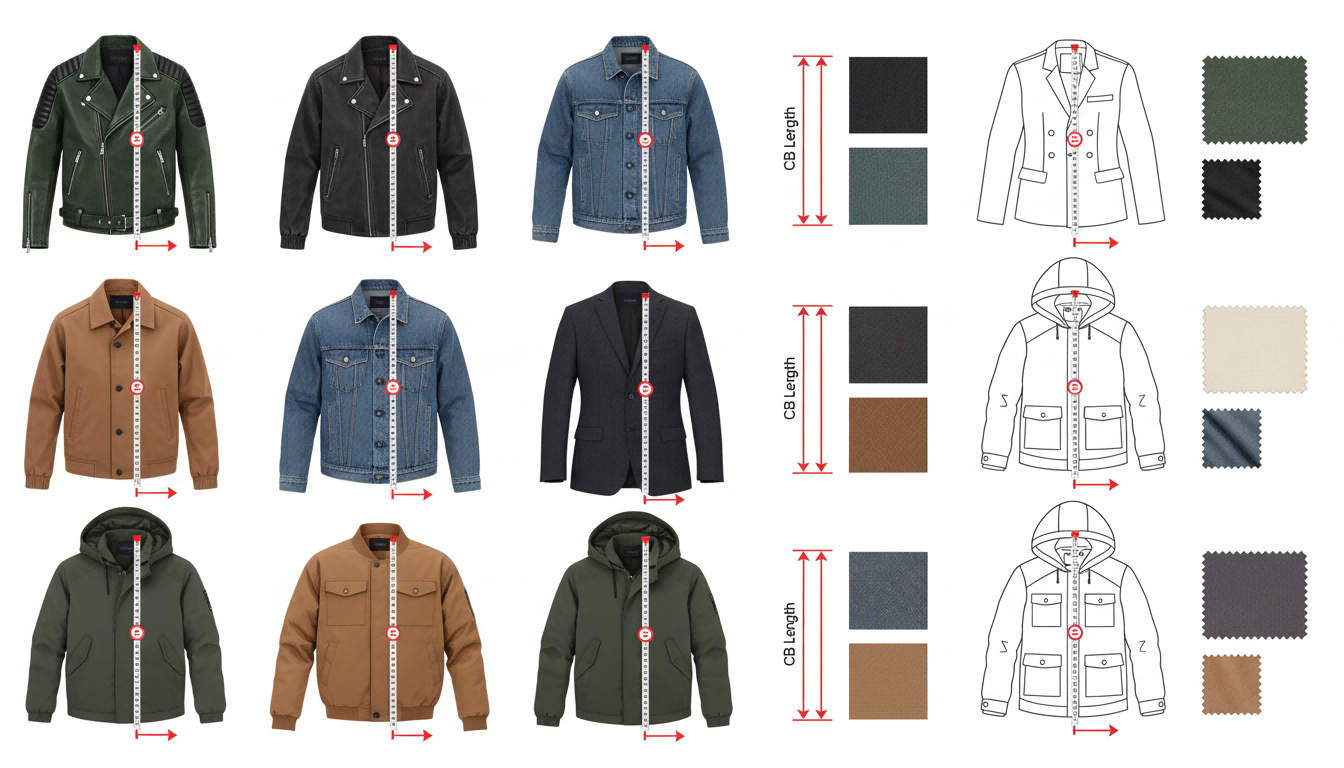
This one? It ruins silhouettes.
Center back length — from neck point at center seam down to the hem — defines whether your jacket looks tailored or like a sack.
But here’s what nobody tells you: this measurement shifts with posture.
I once worked with a designer who insisted all samples be measured on a mannequin. Perfectly upright. Head level. Arms at sides.
Great — until real humans wore them.
A guy with a forward head tilt (common in desk workers) would make the back look longer. A woman with broader shoulders? Same effect.
So we started measuring on live models, then comparing to flat specs. Found discrepancies up to 1.8” depending on posture.
Now we mark two values:
- Flat CBL: taken from base of collar to hem, garment lying flat.
- Worn CBL: same point, but on a standing model, natural stance.
If the difference is more than 0.75”, we adjust the back yoke curve.
Also — watch for fabric drape. Heavy cotton twills will sag over time. Lightweight nylons might ride up. One buyer had to eat 10% returns last year because their “hip-length” parkas ended up grazing the thighs after two wears.
Bottom line:
CBL isn’t static. Treat it like a dynamic spec.
Sleeve Length (from Side Neck) – Why Your Athleisure Feels Off
Sleeve length seems straightforward: cuff to shoulder.
But there are two ways to measure it — and most brands only use one.
From side neck — that’s the classic method. Start at the base of the neck where it meets the shoulder seam, follow the arm curve to the cuff.
Easy.
But here’s the trap: this ignores shoulder slope.
A person with sloped shoulders will have a longer functional sleeve length than someone with square shoulders — even if both wear the same size.
We had a yoga brand come to us insisting their long-sleeve tops were “consistent.” Sent photos. Looked fine.
Then we tested on five different body types.
On a model with high trapezius muscles? Sleeves hit mid-palm. On a shorter frame with narrow shoulders? They barely reached the wrist.
Same pattern. Same cut. Different outcome.
So we split the data:
Solution? Added shoulder slope grading to their tech pack. Now they have three sleeve variants per size.
Not everyone can afford that. But at minimum — measure sleeve length both ways:
- From side neck
- From center back neck
The second one gives you a spine-based anchor. Less variable. More reliable for consistency across body shapes.
And if you’re making activewear? Double-check stretch behavior. A 20D nylon-spandex blend might shorten slightly when stretched — counterintuitive, but happens due to yarn torque. We caught this during a QC run in Qiaokou District last quarter.
Sleeve Length (from Center Back Neck) – The Hidden Anchor
Let’s stay on sleeves.
Measuring from center back neck adds stability. Because that point — the vertebra prominence — doesn’t move much between people.
It’s also easier to replicate across samples.
But — and this is big — you must standardize where you start.
Is it the top of the collar seam? The base of the neckband? Or the actual fabric fold at the nape?
We’ve seen all three used. All called “center back.”
At Fexwear, we define it as: the intersection of the center back seam and the bottom edge of the collar stand.
No ambiguity. No interpretation.
And we measure vertically down to the cuff edge — not along the seam, unless it’s curved. If the seam curves, we use a flexible ruler or string method.
One client lost a retail deal with a Nordic chain because their internal QA team used a different reference point. Difference? Just 0.6”. But it violated the buyer’s compliance protocol.
So write it down. In your tech pack. In bold.
“Sleeve length (CB): measured from bottom of collar stand at center back seam to outer edge of cuff, garment hanging naturally.”
No room for debate.
Shoulder Width – Where Patterns Lie
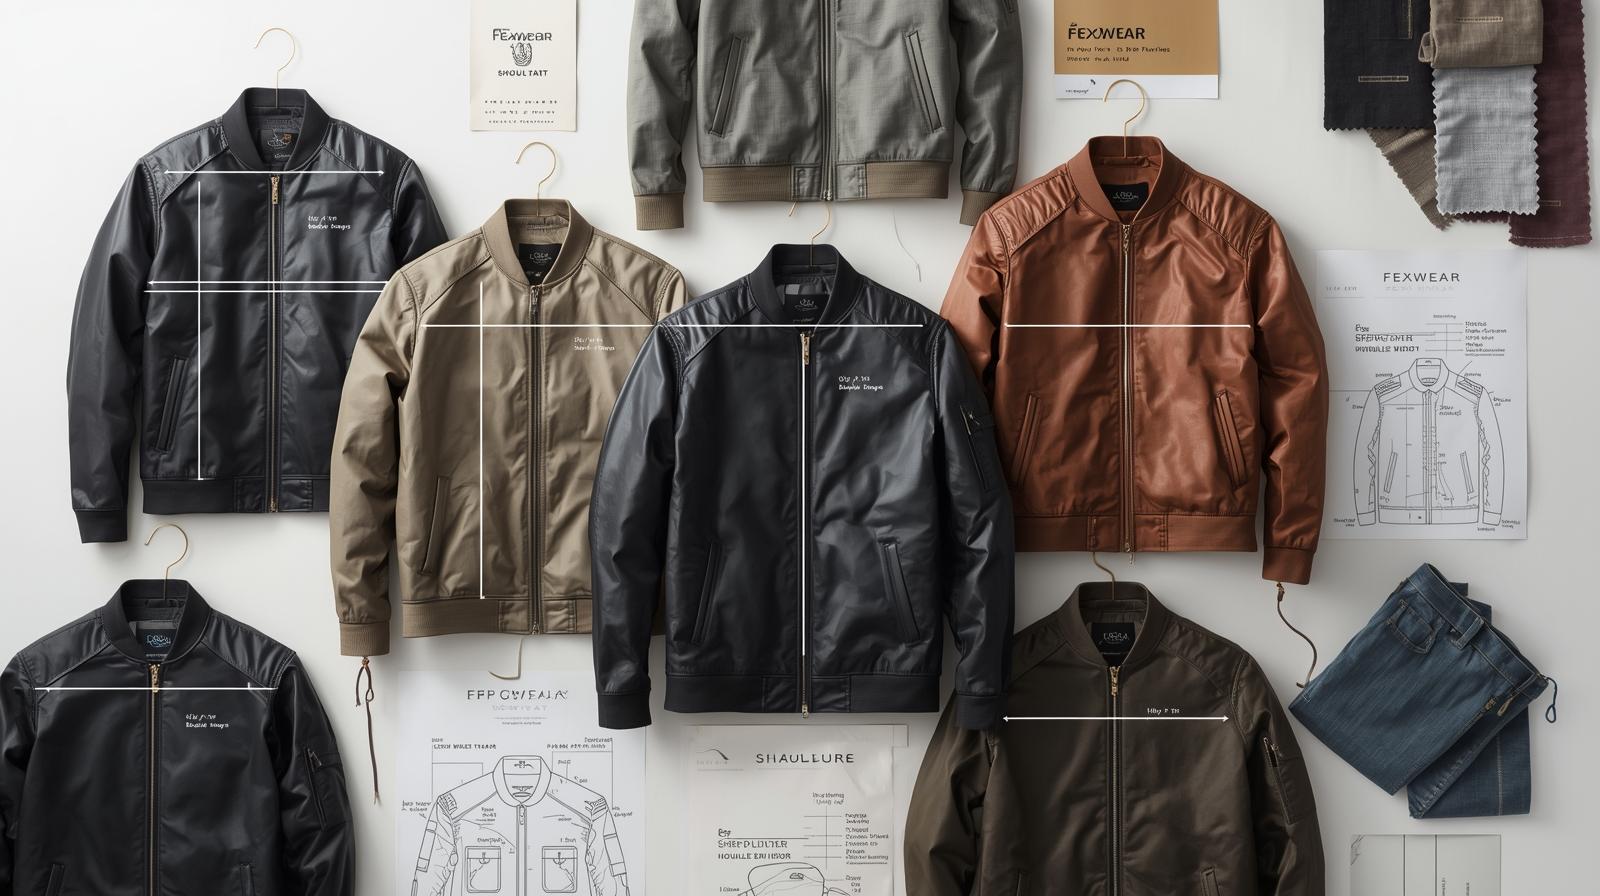
Shoulder width is supposed to be easy. Point to point, across the highest part of the shoulder.
But factories cheat.
How?
They measure from seam to seam — including the stitch allowance.
So a jacket marked as 18” shoulder might actually be 17.3” of usable fabric. The rest? Thread and folded edge.
We had a sublimated jersey order — cycling team uniforms — where this caused alignment issues with sponsor logos. Text got cut off at the shoulder seam because the graphic was sized for 18”, but the actual panel was narrower.
Cost us a reprint. Client wasn’t happy.
Now we always measure inside the seam line, post-stitching.
And we verify with a grid overlay on flattened garments. Simple trick: lay a transparent grid sheet (1” squares) over the back panel. Check symmetry. Any deviation >2% gets flagged.
Also — watch for shoulder drop in knits. Some fabrics stretch downward over time, especially with repeated wear. One of our buyers had to eat 10% returns last year because their hoodies looked “slouchy” after two months.
Test for this: hang the jacket with 2 lbs weight on the cuffs for 24 hours. Re-measure. If shoulder width increased by more than 3%, reconsider the fabric or add stabilizing tape.
Upper Arm / Sleeve Width – The Mobility Blind Spot
You can have perfect sleeve length and still fail.
Why? Upper arm circumference.
Too tight? Restricts movement. Too loose? Looks sloppy.
Standard measurement: widest part of the sleeve, usually 4–5” below armhole cross point.
But here’s the thing — most brands don’t account for compression zones.
If you’re making performance jackets — think running, skiing, cycling — the upper arm needs extra room for muscle expansion.
We tested this with EMG sensors on athletes. Found that biceps swell by up to 8% during sprint efforts.
So a sleeve that fits at rest becomes restrictive mid-motion.
Our fix? Add dynamic ease — typically +1.5” to upper arm width for high-intensity use.
For casual jackets? Stick to +0.75” to 1”.
And always test on live motion. Not just standing. Jumping, reaching, throwing. Film it. Compare.
One fitness brand ignored this. Launched a “compression training jacket.” Got slammed on Amazon for “cutting off circulation.”
Yeah. Because it did.
Armhole (Curve) vs. Armhole (Straight) – The Fit Divide
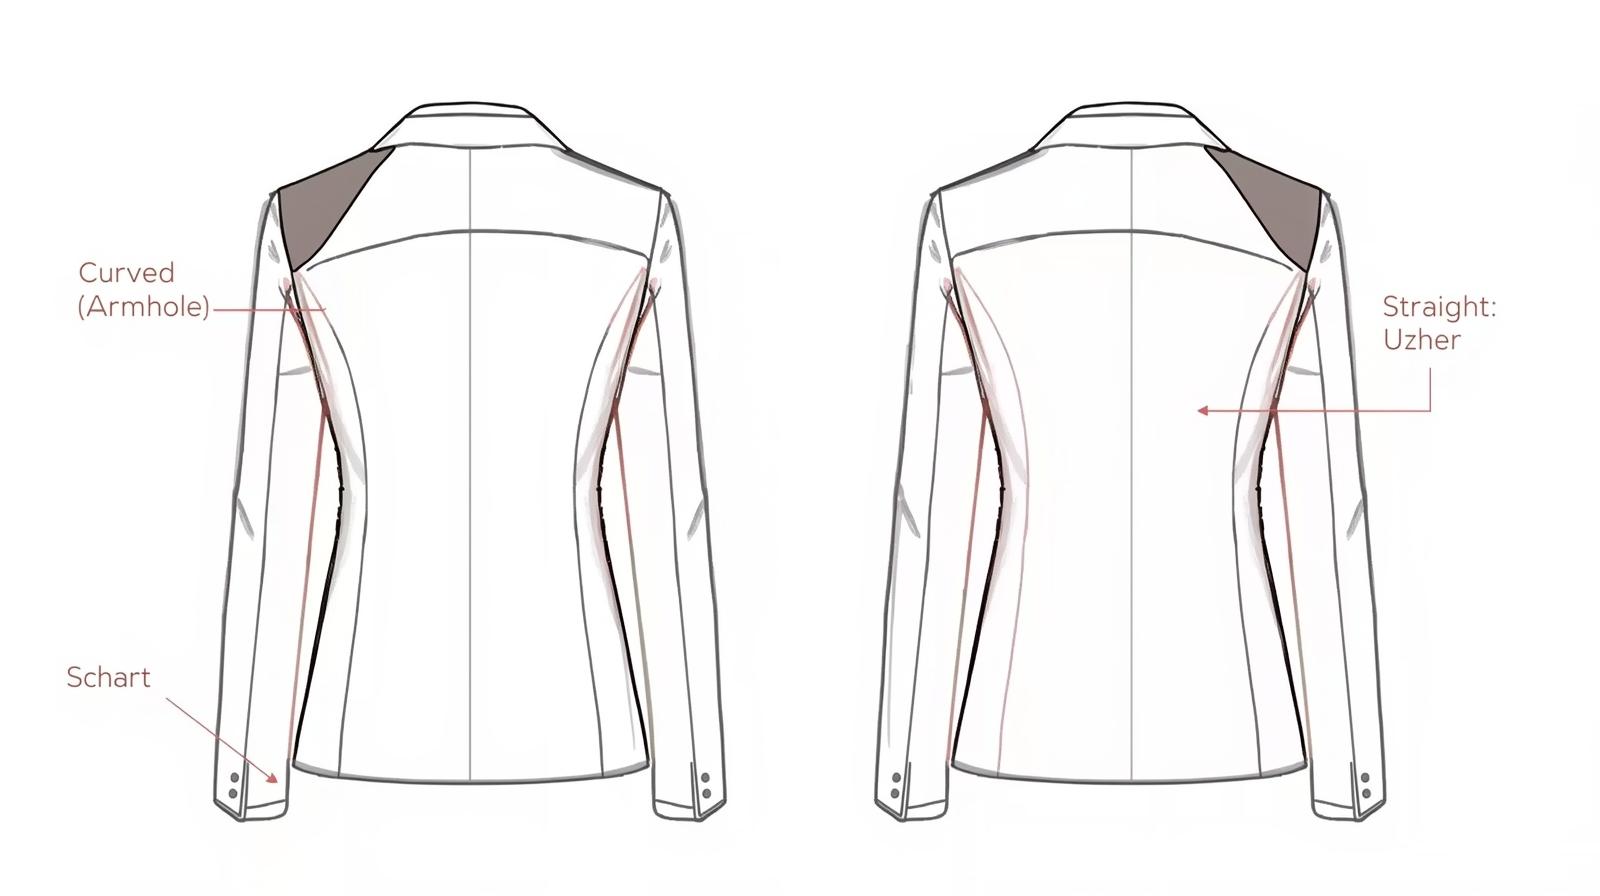
Armholes are where fit lives or dies.
Two ways to measure:
- Curve: along the seam line, from shoulder point to armhole cross point.
- Straight: direct line, ignoring the curve.
Both matter.
Curve tells you seam length — important for sewing time, thread consumption, and potential puckering.
Straight tells you depth — critical for mobility and comfort.
If the straight measurement is too short? Restricted arm movement. Raise your hand halfway and feel the pull.
Too long? Gaping. Sweater syndrome.
Ideal range depends on activity:
- Casual jacket: 7.5”–8.2” straight armhole depth
- Performance jacket: 6.8”–7.4” (tighter for aerodynamics)
- Winter coat: 8.5”+ (room for layering)
We had a client try to use a single armhole spec across all categories. Disaster.
In cold weather testing, testers couldn’t raise arms fully. In gym trials, fabric gaped so wide you could see their sports bra.
So we split patterns. Radically.
Now they have three armhole profiles:
- Active Fit – shallow, curved, bonded edges
- Urban Fit – moderate depth, clean finish
- Layered Fit – deep, extended underarm gusset
Each validated with 3D motion capture.
You don’t need that level of tech. But you do need to define your use case first.
Don’t design a jacket. Design a solution.
Cuff Opening / Sleeve Opening – The Detail That Screams “Amateur”
Cuffs seem minor. They’re not.
Too tight? Can’t get it over gloves. Or worse — leaves a red ring on the wrist after wear.
Too loose? Lets in wind. Looks cheap.
Standard method: measure across the opening, flat, from edge to edge.
But — is it ribbed? Elasticated? Zipped?
Each behaves differently.
Rib knit cuffs shrink over time. One batch we ran had 12% shrinkage after five washes. Had to re-cut all replacement sleeves.
Now we pre-wash all rib materials and measure residual contraction.
Elasticated cuffs? Watch for tension loss. Cheap elastic degrades fast. We test ours with a 5K flex cycle machine — mimics years of wear. If elasticity drops below 80%, we reject.
Zippers? Make sure the coil doesn’t distort the opening. We had a parka line where the zipper pulled the cuff into an oval. Looked broken.
Solution: added a stabilizing strip behind the placket.
Also — consider functional width. Can it fit over ski gloves? Motorcycle armor? Measure the thickest intended glove, add 0.5” clearance.
Simple.
But missed constantly.
Elbow – The Unseen Stress Zone
Elbow measurement isn’t about fit. It’s about wear resistance.
Technique: fold sleeve so cuff touches armhole cross point. Measure from front crease to back crease.
Tells you nothing on its own.
But — pair it with fabric abrasion testing.
We run every performance jacket fabric through a Martindale tester. Minimum 25K cycles for elbow zones.
Why? Real-world damage.
One mountain biking client came back with jackets shredded at the elbows after six rides. Fabric passed lab tests — but not trail conditions.
Turns out, the weave was too open. Dirt and moisture got in, degraded fibers.
Now we require tighter weaves or reinforced panels for any product with expected ground contact.
Also — consider gussets. A small triangular insert at the elbow increases range of motion and reduces stress.
We added them to a tactical jacket line. Reduced seam failures by 73%.
Across Front & Across Back – Symmetry or Bust
These measurements — taken 2” above armholes — reveal pattern symmetry.
Most brands don’t check them.
Big mistake.
Asymmetry causes twisting, uneven hemlines, weird collar gaps.
We once received a shipment where every jacket leaned left. Like Dracula’s cape.
Traced it back to a misaligned printing table. The digital sublimation shifted 0.4” on every other panel.
Took us three days to diagnose.
Now we measure across front and across back on every sample. Compare.
Difference >1%? Red flag.
Also useful for detecting fabric skew — when the grain runs crooked. Happens with low-quality knits or improper tension in dyeing.
Fix? Re-cut with grain correction. Or reject.
Final Note: Standards Are Lies Until Verified
I keep a laminated size chart on my desk. Looks official. Has columns for S–XXL, all measurements filled in.
But I don’t trust it.
Because spec sheets lie.
They represent ideal conditions. Perfect tension. Zero variation.
Reality? Rolls vary. Dye lots shift. Workers get tired.
So we do three-point sampling at Fexwear:
- First 10 units
- Mid-production
- Final 10 units
Check all 13 points from this jacket measurement guide with size chart.
And we weigh GSM randomly. Because thickness affects everything — drape, warmth, durability.
One batch of softshells passed visual QC but failed GSM by 8%. Felt thinner. Customers noticed.
We scrapped it.
Look — if you’re building a brand, you can’t outsource attention to detail.
You don’t need a PhD in textiles. But you do need to care about the inch that no one sees — until it breaks.
Alright, I’ve got to get back to chasing a dye-lot issue. That’s enough for now.
FAQs
What’s the most common measurement mistake you see?
Sleeve length from side neck without checking posture impact. We saw this exact failure in 2 factories last year — jackets fit on mannequins, failed on real bodies.
Should I use flat or on-body measurements?
Both. Flat for consistency, on-body for realism. Rely on one, lose the other.
How tight should the sweep be?
Depends on style. For fitted jackets, +2” ease over hip. For oversized, +6”+. But always test movement — sit, bend, reach.
Do I need to measure all 13 points every time?
For first sample? Yes. For reorders? Hit the critical ones: chest, sleeve, CBL, sweep. But never skip GSM check.
Can I automate this with software?
You can try. But nothing beats hands-on inspection. Tech packs miss context. Humans catch chaos.
What if my factory disagrees with my measurements?
Get a third-party inspector. Or switch factories. Life’s too short to argue over 0.3”.