Alright, listen. You’re sitting in your tiny apartment, sketchbook open, coffee gone cold, trying to draw a jacket that doesn’t look like it was made for a scarecrow. Or maybe you’ve got a Shopify store and some Instagram ads running, but your designs? They’re just… off. Flat. Lifeless. Like they died halfway through the sketch.
I’ve been there. Not as a designer—never claimed to be one—but as someone who’s stood in 37 different garment factories across China, Vietnam, and Bangladesh, watching great ideas turn into landfill because the sketch didn’t mean anything on the floor.
You don’t need art school. You need clarity. And clarity starts with a damn good fashion sketch.
This isn’t about becoming Picasso with a pencil. It’s about speaking the language of pattern makers, sample sewers, and fabric cutters—people who don’t give a shit about your “vibe.” They care about seam lines, drape points, and where the hell the pocket goes.
So let’s walk through this like I’m showing a new hire around the factory at 6 a.m., before the steam presses kick on and the air gets thick with polyester dust.
The First Rule: Your Sketch Isn’t Art—It’s a Blueprint
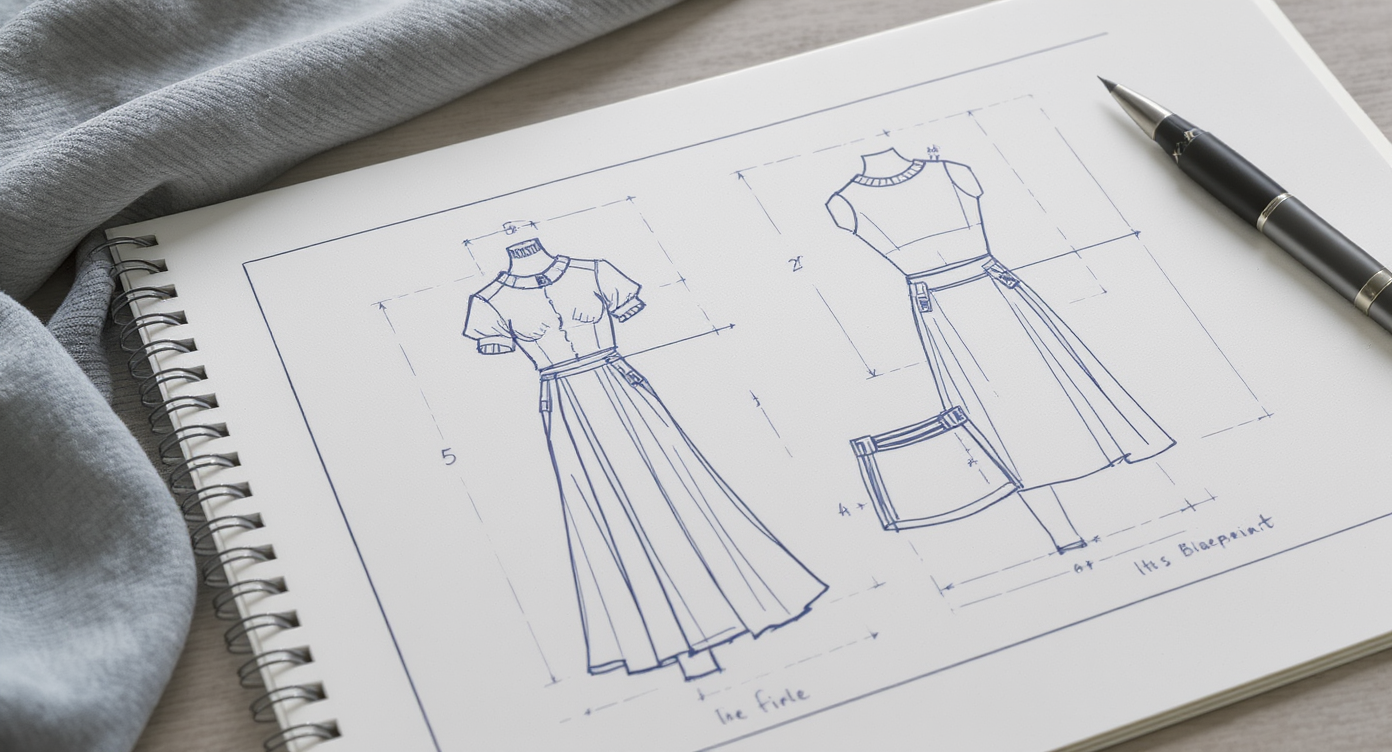
I saw a brand last year—funded, good influencer collabs, decent website—go under because their sketches were “mood boards with legs.” One buyer sent us a file: a woman lounging on a couch, wearing what looked like a trench coat fused with yoga pants. No back view. No measurements. Just vibes.
We tried. God knows we tried. But when the sample came back, the sleeves were attached at the hips.
That’s not funny when you’ve already taken deposits.
At Fexwear, we get these files all the time. And yeah, we’ll help fix it—because our job is to save your ass—but if you learn how to draw a proper sketch now, you won’t have to rely on someone else cleaning up your mess later.
Start here: Fexwear’s full service range covers everything from idea to delivery, but none of it works if the sketch can’t tell the factory what to build.
Fashion Sketch vs. Fashion Illustration — Stop Mixing Them Up
Let me tell you something I overheard in a meeting in Dongguan:
“Why did the client send us a painting of a girl dancing in the rain wearing our prototype? Is this a design or a Spotify ad?”
That was a real question. From a production manager. Dead serious.
Here’s the difference:
- Fashion illustration = storytelling. Mood. Emotion. Used in campaigns, portfolios, magazines.
- Fashion sketch = instruction. Technical. Functional. Used by factories to make clothes.
You want to sell product? You need sketches first. Save the watercolors for your Instagram.
A sketch tells the factory:
- Where the seams are
- How the collar sits
- Whether the hem is curved or straight
- If the zipper is exposed or invisible
An illustration says: “Look how cool she looks running through Paris.”
Cool. Now try making that jacket without a single measurement.
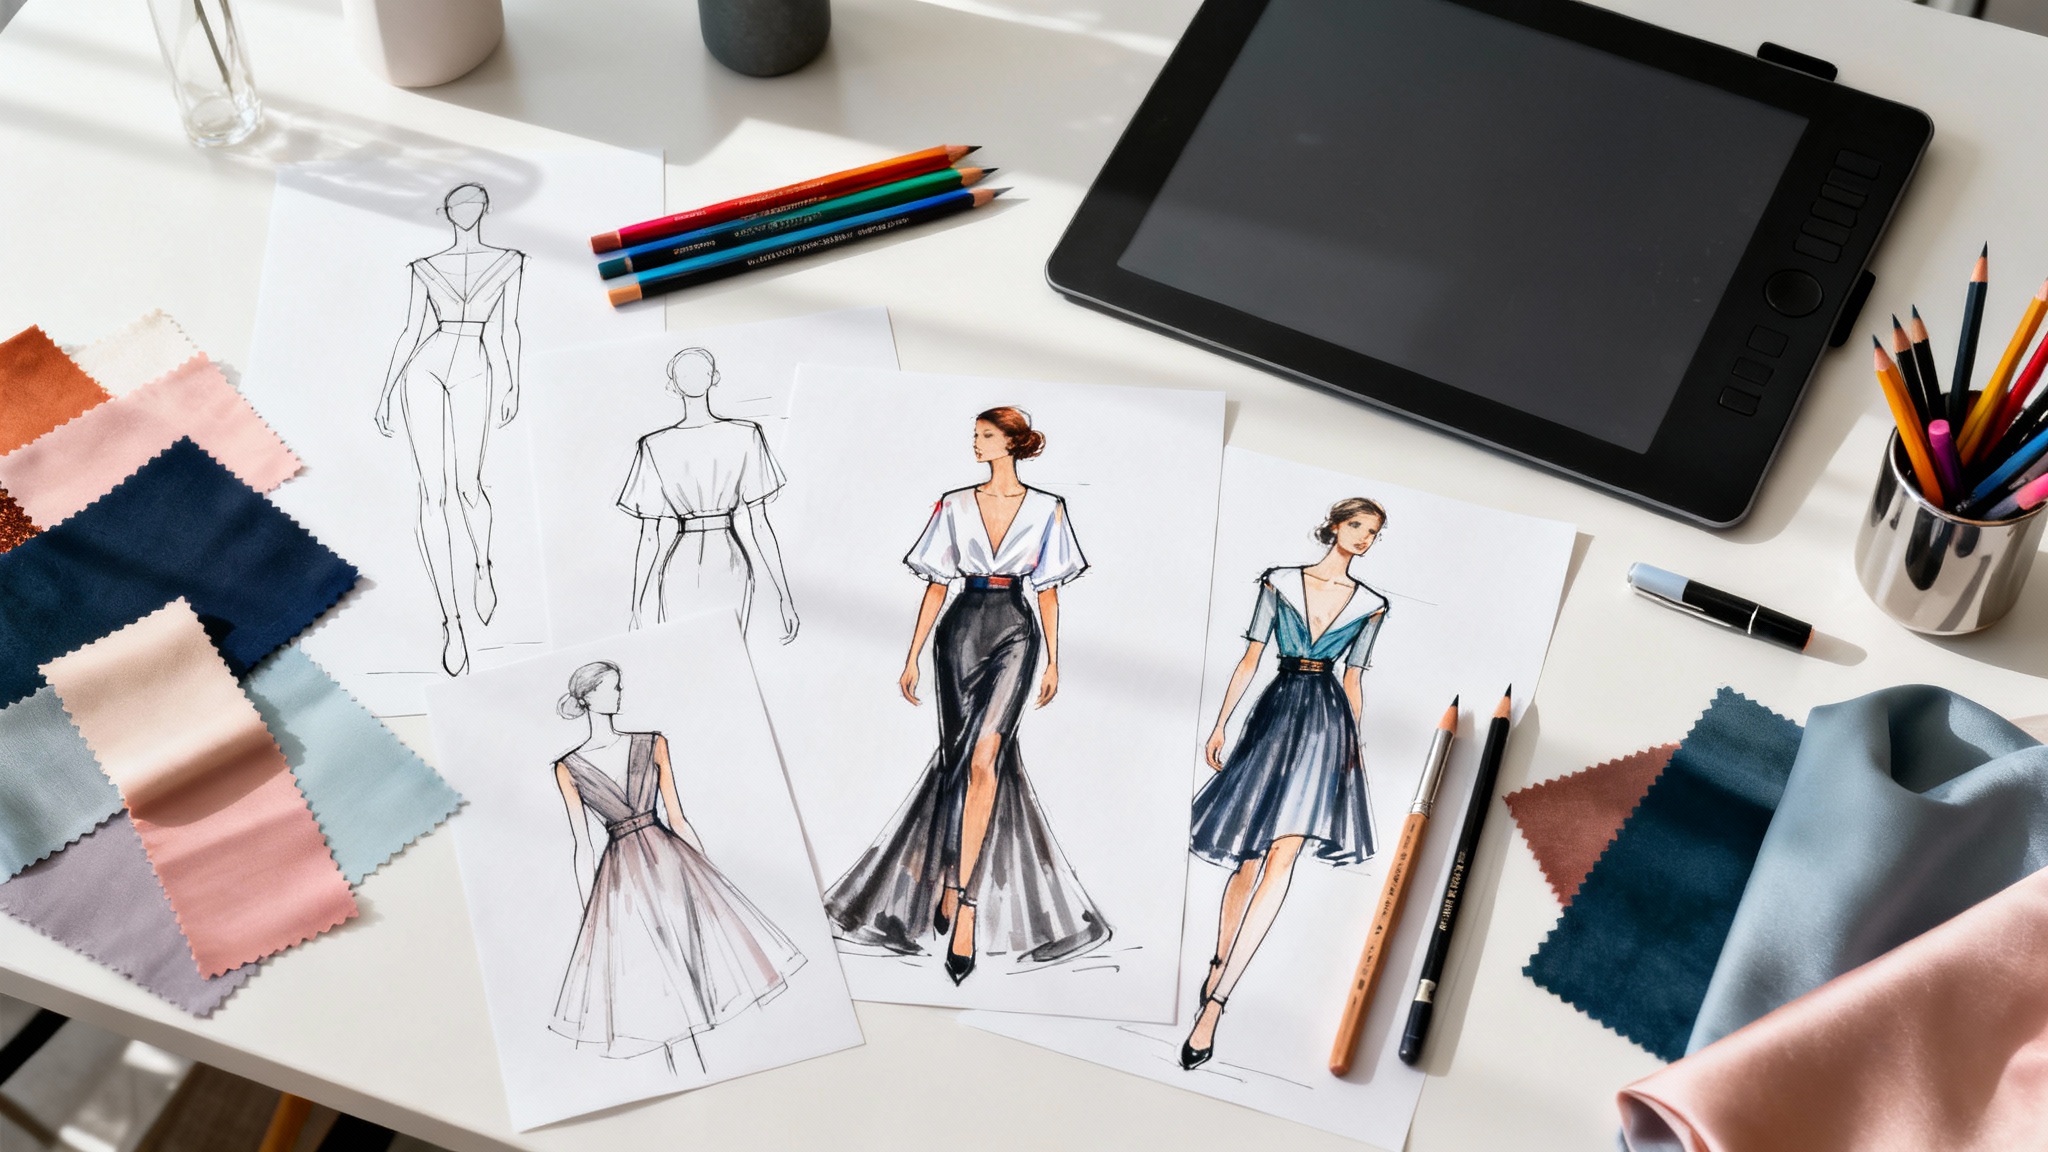
Step 1: Sketch the Outline – But Not Like You Think
Forget drawing the whole body from scratch every time. That’s how beginners burn out.
Use a croquis.
It’s French. Means “sketch.” Basically, it’s a pre-drawn model template—usually 9 heads tall—that you trace over and over. At Fexwear, we keep printed croquis sheets taped to every design table. Some are worn through from erasing.
You start with the balance line.
Yeah, I know—it sounds like a yoga term. But it’s not. It’s a vertical line drawn from crown to toe, following the spine. This keeps your figure upright, balanced. Without it, models lean like they’re bracing against wind.
Then you draw the head—an oval. Simple. Not detailed. We’re not doing portraits.
Next: pelvis. On the balance line, find midpoint. Drop down a little. Draw a square. Equal sides. Width depends on body type. Slim fit? Narrow square. Plus size? Wider.
This square is everything. Hips grow from it. Torso builds upward. Mess this up, and the whole thing looks drunk.
Shoulders? Same width as the pelvis square. Always. Even if you’re drawing a power suit. Proportion matters more than drama.
Legs? Four heads long. Minimum. Fashion illustrators stretch them to six or seven to make the clothes look dynamic. Fine. But if you’re sending this to a factory, mark where the knee hits—the second head down from the pelvis.
Feet? Triangles. Long ones. About the length of the head. Pointed forward, usually.
Arms? Tapered. Longer than real arms. Makes the pose more dramatic. Hands come last—if at all. Most factories don’t need fingers unless you’re designing gloves.
Do this ten times. Then ten more. Until you can draw it blindfolded.
Because when you’re standing in front of a cutter who needs the sketch now, you won’t have time to Google “how to draw shoulders.”
Step 2: Add Design Details – This Is Where Brands Die
No details = no clothing.
Just fabric. Draped. Flopping. Useless.
I had a client once—a yoga brand—send a sketch of leggings with a note: “make it flattering.”
Flattering how?
We guessed. Went with a high waist, side pockets, mesh panels.
They rejected the sample. Said it wasn’t “spiritually aligned.”
Turns out they wanted ruffles.
Ruffles on yoga pants.
We could’ve avoided that disaster if they’d just drawn the damn ruffle.
So add the details. All of them.
Pockets: patch? inset? flap? welt? Zippers: visible? hidden? two-way? Seams: topstitched? French? flat-felled? Closures: buttons? snaps? magnetic? Necklines: crew? V? boat? off-the-shoulder?
And textures.
Hatched lines for seaming. Wavy lines for gathers. Dots for embroidery.
One brand sent us a sketch with scribbles near the cuff. “Like texture,” they said.
We used a jacquard weave. Cost extra. Delayed shipment.
Turned out they meant ribbing.
Now we require symbols. Standardized. No ambiguity.
Step 3: Refine the Sketch – Kill the Noise
Factories don’t want messy energy. They want clean lines.
After you’ve drawn the garment, step back.
What’s distracting?
Extra lines? Erase them. Wobbly hems? Redraw. Unclear silhouette? Trace over it with a firmer hand.
I once saw a $40K order delayed because the sketch had two different sleeve lengths drawn—one lighter, one darker. Was the darker one final? Or a draft?
The factory assumed both were options. Made samples for each.
Client was furious.
Moral: clean up your sketch. Make it unambiguous.
Use a harder pencil—H or 2H. Light marks. Easy to erase. Won’t dent the paper.
Save the bold strokes for the final outline of the garment.
And always draw the clothing over the croquis, not beside it. Show how it hangs. Where it pulls. Where it drapes loose.
If it’s tight at the thigh, show tension lines.
If it flares at the hem, flare the sketch.
Otherwise, the pattern maker will assume it’s straight-cut.
How to Draw Fashion Illustrations – When You Actually Need to Sell the Dream
Okay. So you’ve got your technical sketch. Factory can build it.
But now you need to pitch it.
To investors. To retailers. To customers scrolling past your product page.
That’s where fashion illustration comes in.
Different rules.
Here, you go bold.
Thicker ink. Color. Texture. Drama.
At Fexwear, we keep two versions of every design:
- The flat sketch (for production)
- The rendered illustration (for sales)
For rendering:
- Ink the final lines with a fine liner (0.3mm).
- Add shading. Show light source—usually top-left.
- Use markers or digital tools for color. Pick fabrics that match your actual material swatches. Don’t make it blue in the drawing if it’s going to be black in real life.
- Add shadows under the model. Gives depth.
- Background? Minimal. A runway line. A gradient. Not a fucking cityscape.
And accessories.
A belt. Earrings. Shoes.
Because people buy the look, not the jacket alone.
One client increased conversions by 38% just by adding illustrated shoes to their product visuals—even though they didn’t sell footwear.
Psychology. Whole outfit = aspiration.
Flats – The Unsung Heroes of Production
You ever seen a tech pack?
Page after page of flats.
Front, back, side views. All flat. No model. Just the garment, laid out like it’s on a table.
These are non-negotiable.
Factories use flats to grade sizes, cut fabric, stitch seams.
No flats? No production.
Drawing a flat is simple:
- Outline the garment shape.
- Add all seams as solid lines.
- Mark darts, pleats, zippers, labels.
- Use consistent line weight.
- Label everything: “left front,” “yoke,” “cuff facing.”
We had a batch last summer where the hood attachment was wrong on 800 units.
Why?
The sketch showed the hood on the model. The flat was missing.
Assumption: it attaches at the neckline.
Reality: it should’ve been set into the shoulders.
$18K loss.
Now? Every design must have a flat. No exceptions.
Check Fexwear’s catalog —you’ll see flats in every product listing. Not for fun. For function.
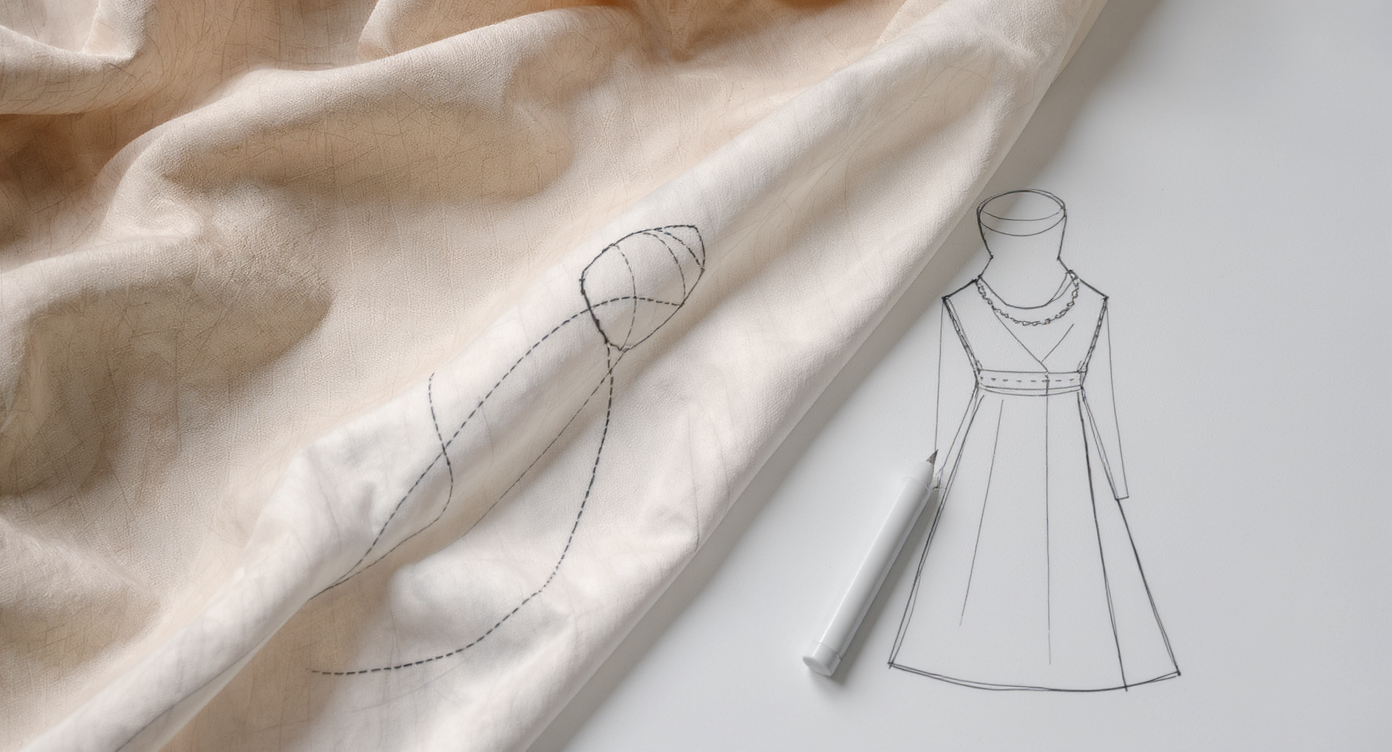
Materials Matter – And They Change How You Draw
You can’t draw silk the same way you draw neoprene.
Silk flows. Clings. Wrinkles softly.
Draw it with flowing, continuous lines. Soft folds. Gentle curves.
Neoprene? Stiff. Bulky. Holds shape.
Use sharper angles. Thicker outlines. Show volume.
At Fexwear, we keep fabric swatches pinned to the design wall. Designers must reference them when sketching.
One team ignored it. Drew a bomber jacket in “leather” using soft, draping lines.
When the real material came in? Rigid. Looked nothing like the sketch.
Client thought we’d switched materials.
We hadn’t. The drawing lied.
So match your sketch style to the fabric.
Knits? Show stretch with gentle horizontal waves. Wool coats? Heavy lines. Deep shadows. Mesh panels? Crosshatch lightly.
And if you’re using sustainable fabrics—like recycled polyester or Tencel—note it on the sketch.
Not for aesthetics. For sourcing.
Because those materials have different hand-feels, shrinkage rates, dye behaviors.
See our full fabric recommendations —we’ve tested every blend, every denier. Learned the hard way.
Case Study #1: The Running Jacket That Wouldn’t Zip
MOQ: 2,000 units
Lead Time: 6 weeks
Budget: $85K
Certifications Required: GRS, OEKO-TEX
Client wanted a lightweight running jacket—recycled materials, zip-off sleeves, hidden pockets.
Sketch looked perfect.
But during pre-production sampling, the zippers failed.
Why?
The sketch showed a center front zipper ending at the chest. But it didn’t specify where the stopper went.
Factory assumed full-length.
When we tested mobility, the zipper pull hit the chin during runs.
Unusable.
Redesign. New molds. Two-week delay.
Cost: $11K.
Lesson? Mark zipper stops. Even if obvious.
Now we require all sketches to include:
- Zipper type (YKK? #5?)
- Pull direction
- Stopper location
- Underlap/overlap width
Simple notes. Prevent disasters.
Case Study #2: The Yoga Pants With Two Back Pockets
MOQ: 1,500
Fabric: 78% recycled polyester / 22% spandex
Issue: Seam slippage after 10 washes
Sketch showed two back pockets.
But the pocket bag material wasn’t specified.
Factory used cheap lining—thinner than shell fabric.
After washing, seams ripped.
We caught this in a mid-line audit in 2023. 600 units already stitched.
Had to rework. Added reinforcement tape.
Cost: $7K. Delay: 10 days.
Now? Every sketch includes fabric callouts for all components—not just outer shell.
Lining. Interfacing. Elastic. Thread.
Write it down.
Or pay later.
Why Garment Factories Hate Vague Sketches

You think they care about your artistic expression?
No.
They care about:
- Clear seam lines
- Accurate proportions
- Fabric indications
- Stitch type notes
One factory in Ningbo fired a client last year.
Literally. Called the agent and said: “Don’t send any more work from this brand. Their sketches are garbage.”
Because every time, they had to ask five questions just to start cutting.
That brand is now working with a $50/hour design consultant just to clean up their tech packs.
Cheaper to learn now.
Tools You Actually Need (Forget the Fancy Stuff)
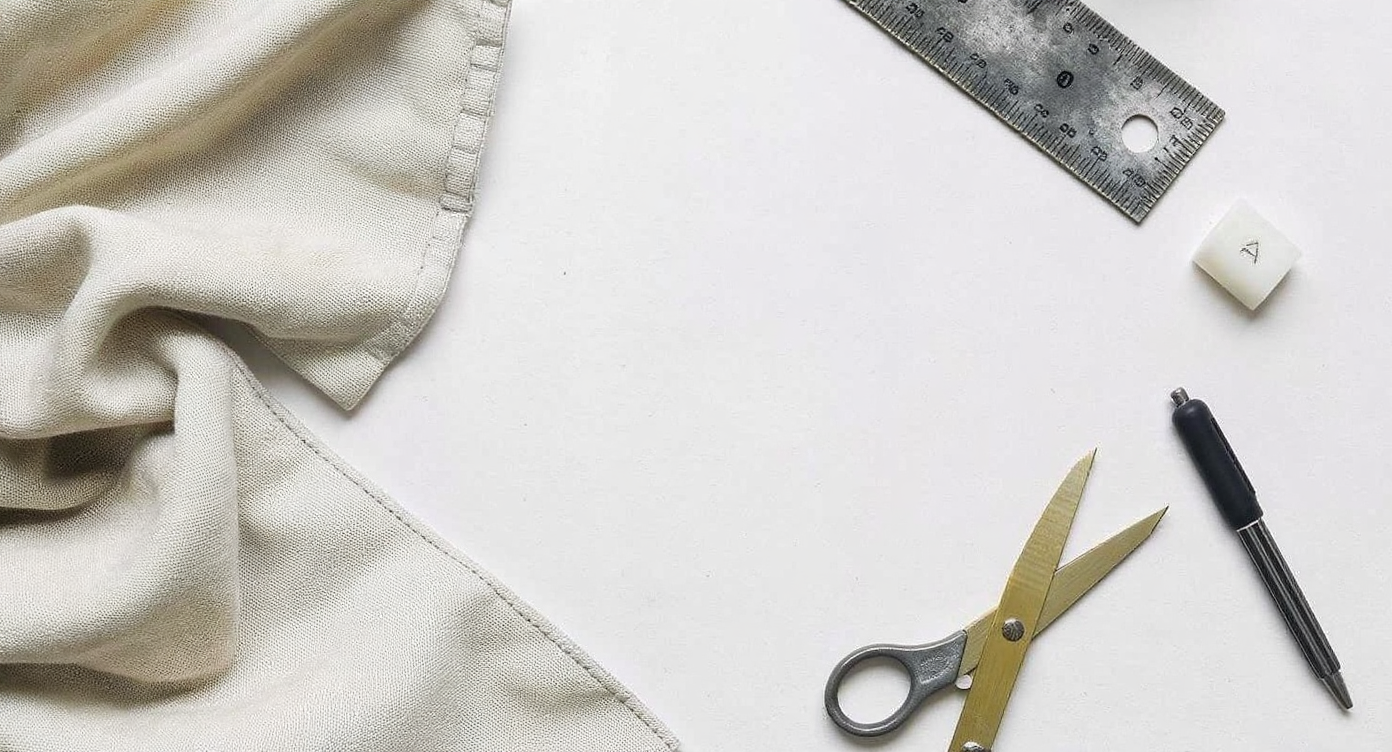
- H or 2H pencil (light, erasable)
- Kneaded eraser (doesn’t leave crumbs)
- Tracing paper (for iterations)
- Ruler (for straight seams)
- Fine liner pens (0.1 to 0.5mm)
- Marker pad (gray tones for shading)
- Thick sketchbook (120gsm+)
That’s it.
No tablet required. Though many designers at Fexwear use iPad + Procreate now. Faster revisions.
But the principles are the same.
Poses That Work – And Which Ones Get Ignored
Stick to these three poses for 90% of your designs:
- Runway Walk – 3/4 view, one leg forward. Shows front and side drape.
- Front + Back Flat – Essential for tech packs.
- Action Pose – Jumping, arm raised. Good for activewear.
Avoid:
- Twisting at the waist (distorts proportions)
- Extreme angles (hard to translate to pattern)
- Sitting poses (unless designing loungewear)
One brand insisted on a seated croquis for joggers.
Factory misjudged crotch depth.
Result? Pants were too short when standing.
Never again.
Sustainable Fabrics – How to Show Them in Sketches
You can’t draw “eco-friendly.”
But you can indicate it.
Add a small tag on the sketch:
“Shell: GRS-certified recycled polyester (30D)”
Or:
“Lining: TENCEL™ Modal, FSC-certified”
Not for style. For sourcing.
Because if the buyer sees “organic cotton” but no certification noted, they’ll reject it.
Major retailers now demand proof.
We saw this exact failure in 2 factories last year—designs approved, then blocked at customs for missing GOTS documentation.
All because the sketch didn’t flag the material origin.
So write it. Even in pencil.
Final Notes from the Floor
You don’t need to be an artist.
You need to be clear.
Every line should answer a question a pattern maker will ask.
Where does the seam go?
How wide is the hem?
Is the sleeve set-in or raglan?
If your sketch doesn’t answer that, it’s not ready.
And don’t skip the flat.
Seriously.
I’ve seen brands lose six figures over a missing side view.
Keep your croquis consistent.
Use the same model proportions across all designs.
Build a library.
At Fexwear, we have digital croquis templates for men, women, plus-size, youth. All standardized.
Makes scaling easier.
Need help? Reach out anytime . We’ll walk you through it—no bullshit.
FAQs
What material is similar to silk?
Tencel™ and high-denier nylon mimic silk’s drape and sheen. But test first—some “silk-like” polyesters feel plasticky after wash. We saw this in 3 batches last quarter.
Which type of fabric creates a formal appearance?
Wool crepe, gabardine, and satin weaves. Structure matters. A stiff shoulder and clean lines read as formal—even if the sketch is rough.
What is the most durable fabric?
Hemp. Linen. Recycled nylon (ECONYL®). But durability isn’t just fiber—construction matters. Flat-felled seams beat serged ones every time.
Which fabrics are best for moisture wicking?
Recycled polyester (30D–50D) with spandex. Verified via RET testing <15. Basic cotton blends fail here—we had a client eat 10% returns last year because of sweat stains.
What is the difference between Cotton and Organic Cotton?
Organic = no synthetic pesticides, less water (sometimes), GOTS-certified processing. But it still shrinks. Still fades. Still needs pre-washing. Don’t skip QC.
Look, I’m not a designer. I’m a guy who’s spent too many nights explaining why a sketch doesn’t match the sample.
But I know this: a good sketch saves time, money, and relationships.
Draw it right. Specify everything.
And for god’s sake, label your flats.
Alright, I’ve got to get back to chasing a dye-lot issue. That’s enough for now.