
In the world of custom sportswear, a moodboard is far more than a collage of pretty images. It is the critical first translation between creative vision and manufacturing reality. For brands, gyms, and sports teams sourcing OEM or ODM apparel, a well-constructed moodboard is your most powerful tool to ensure the factory understands not just the *look* you want, but the *feel*, *function*, and *finish*. It bridges the gap between a sketch on paper and a high-performance hoodie in hand. A vague or purely aesthetic board leads to sampling errors, wasted time, and unexpected costs. A strategic, production-aware moodboard sets the stage for a smooth, efficient, and accurate run.
This guide moves beyond basic Pinterest collages. We’ll break down how to build a moodboard that speaks directly to a manufacturer’s needs, what details are non-negotiable for activewear, and how to use this tool to de-risk your custom apparel project from the very start.
What Matters Most: The Manufacturer’s Perspective
Before you start clipping images, shift your mindset. You are not just curating inspiration; you are creating a technical communication document. A factory’s production team—pattern makers, sample machinists, fabric sourcers—needs specific, unambiguous information. Their primary questions are:
- “What fabric?” Weight (GSM), composition (e.g., 100% cotton, 80/20 cotton/poly), and finish (brushed, waffle, moisture-wicking) are mandatory. Referencing brand-name fabrics (e.g., “like Nike Dri-FIT”) is a starting point, but specifying the technical properties is better.
- “What fit?” Is it athletic, relaxed, or compression? Reference specific ASTM body measurement standards or even provide a garment spec sheet with key measurements (chest, body length, sleeve).
- “What construction?” Flatlock seams? Double-layered hems? Specific stitch types (e.g., 5-thread overlock)? The moodboard must hint at or be accompanied by notes on construction quality.
- “What details?” Type of zipper (YKK #5), drawstring material (flat vs. round), label placement (neck, side-seam), and packaging (polybag, hangtag).
A moodboard that only shows final looks without this context forces the factory to guess, and guesses in manufacturing are expensive.
Building Your Production-Ready Moodboard: A Phased Approach
Phase 1: Deep Research & Reference Gathering
Start broad, then narrow. Your sources should be a mix of high-end editorial, competitor analysis, and technical references.
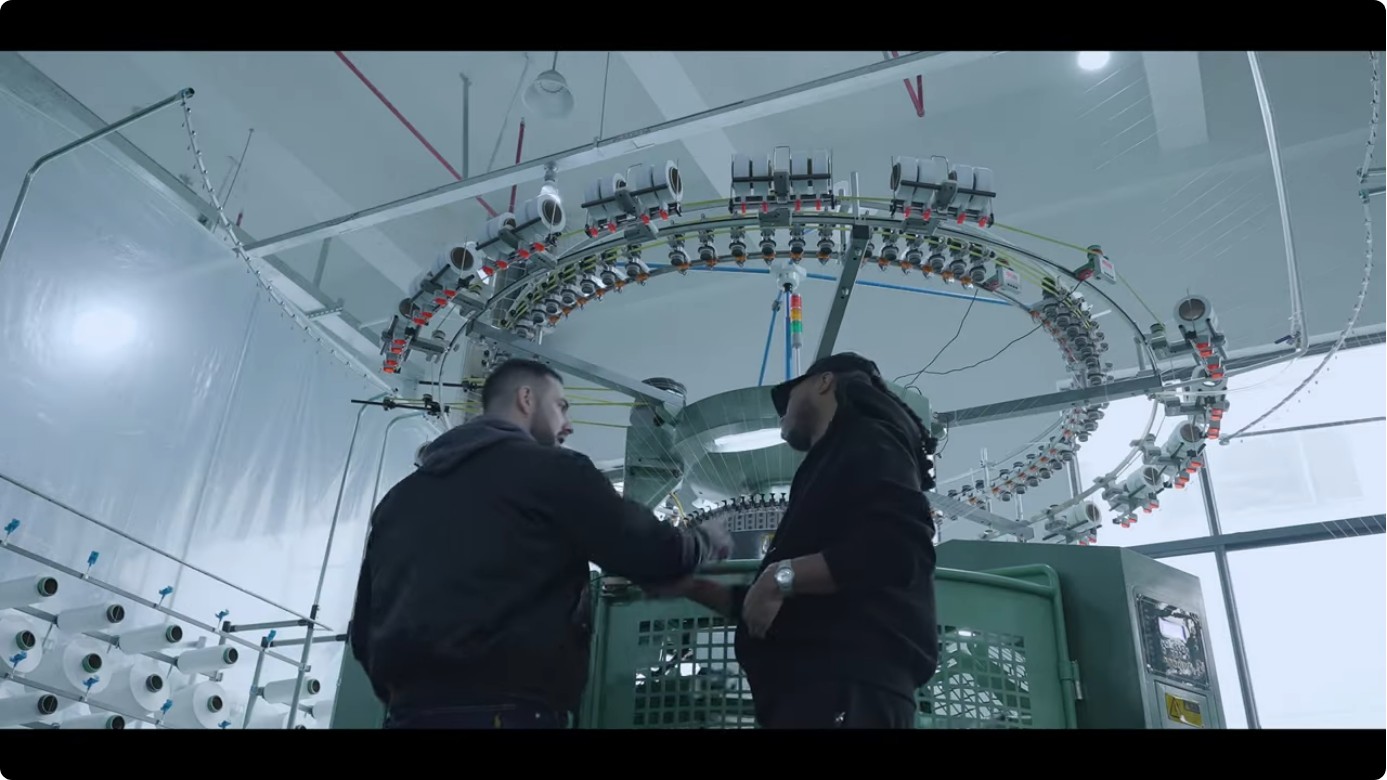
- Competitive & Market Analysis: Collect images of similar products in your target market. Note price points and where they are sold. This sets the quality benchmark.
- Fabric & Trim Swatches: This is the most overlooked step by designers. Order physical swatches from suppliers like Mood Fabrics or fabric mills. Photograph and scan them. Include close-ups of weave, texture, and drape. A picture of a ribbed cuff is useless without knowing the rib’s height (1×1, 2×1) and elasticity.
- Technical Details: Screenshot specifications from textile databases. Find GSM (grams per square meter) ranges for the fabric weight you envision (e.g., a winter hoodie vs. a summer tank). Note AATCC care label codes if special washing is required.
Phase 2: Composition & Storytelling
Now, assemble the board. Use a digital tool like Canva, Milanote, or even a structured PDF. Organize it into clear, labeled sections:
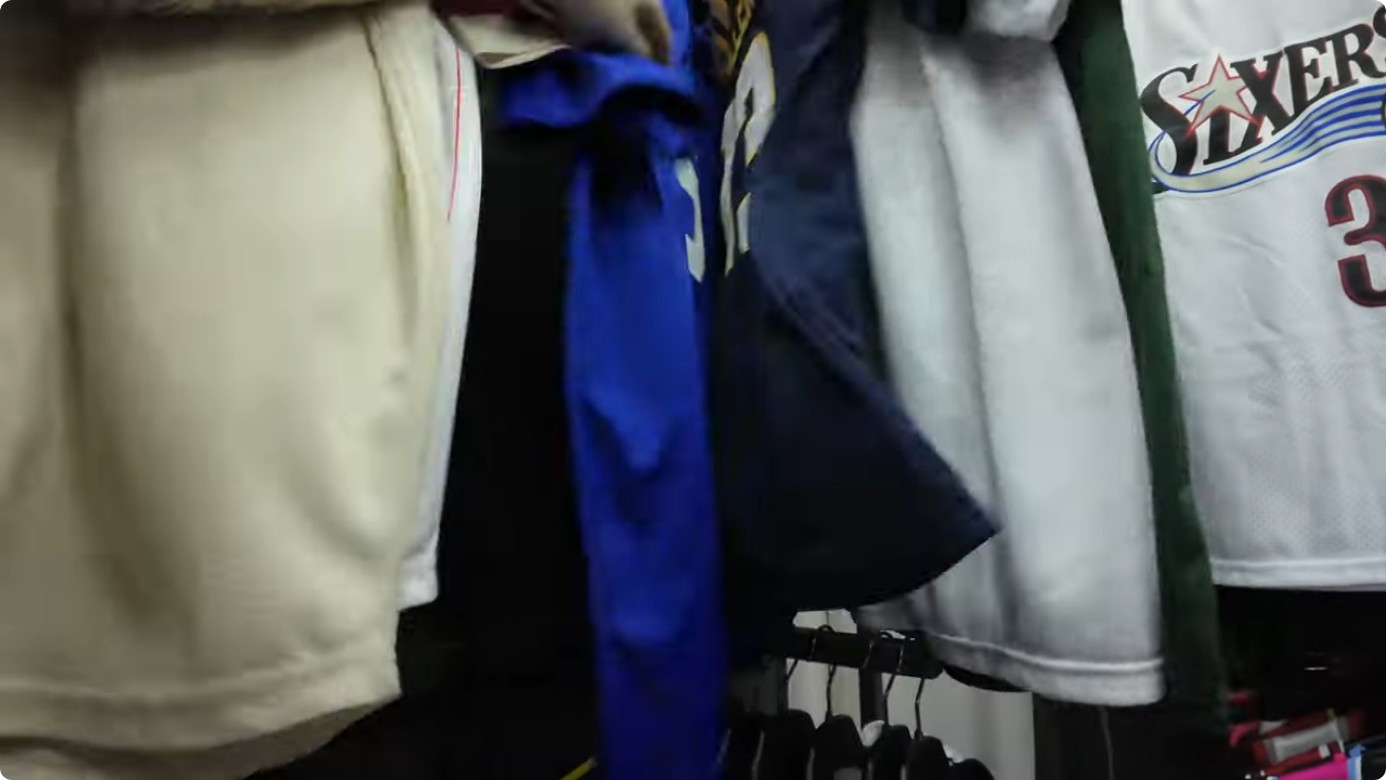
- Primary Inspiration & Vibe: 3-5 strong images that capture the core aesthetic (e.g., a streetwear photo, an architectural detail, a nature scene). Use this to answer “What is the feeling?”
- Color Palette: Use a color picker tool to extract exact hex codes or Pantone references (if you have them) from your inspiration images. Label them clearly: “Main Body: #2A3B4C (Pantone 654 C)”, “Accent Stitching: #FF6B35”.
- Fabric & Texture Library: A grid of your physical swatch photos. Label each: “Main: 280GSM 100% Cotton French Terry (brushed back)”, “Rib: 1×1 260GSM Cotton/Elastane”.
- Construction & Detail Gallery: Close-up photos of specific seams, hems, zippers, and labels from existing garments you admire. Use arrows or text callouts to highlight what you’re pointing to (e.g., “Coverstitched hem”, “Woven neck tape”, “Metal snap button”).
- Target Customer & Use Case: Include 1-2 images of your ideal customer in setting (e.g., “Someone training at a CrossFit box” or “A teen wearing this for casual streetwear”). This contextualizes fit and durability needs.
Phase 3: The Critical Link: Annotating for Production
Do not assume the factory will interpret your collaged images correctly. Every ambiguous element needs a text note. Create a simple “Spec Summary” section on the board itself or in an accompanying document.
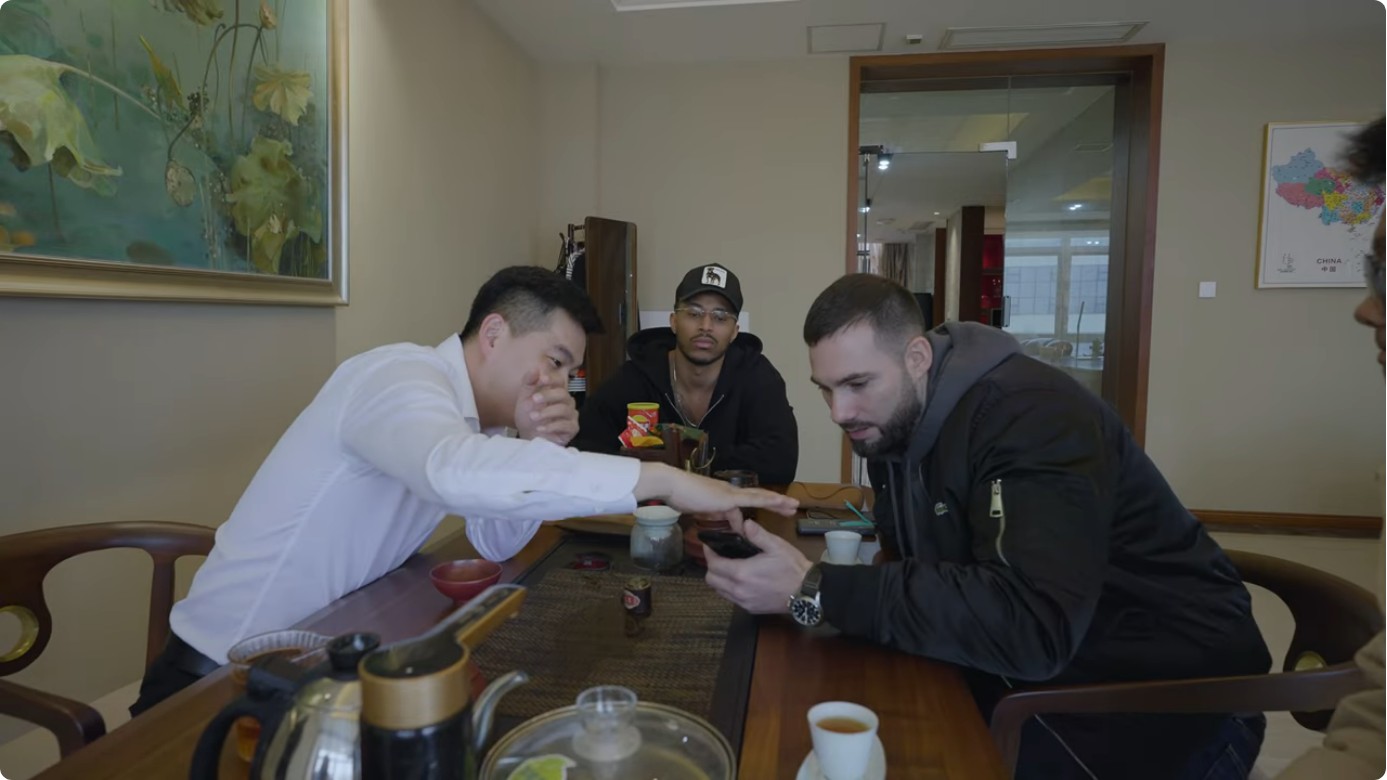
| Moodboard Element | Vague Representation | Production-Ready Annotation |
|---|---|---|
| Fit | Image of a model in a loose tee. | “Relaxed fit. Provide size specs: Chest (+2″ from body), Body Length (standard). No tapering.” |
| Fabric | Photo of a grey sweatshirt. | “Main: 320GSM 80/20 cotton/poly fleece. Nap: medium, not plush. Pre-shrunk.” |
| Label | Close-up of a neck label on a designer item. | “Tear-away woven label, 1.5″x2.5″, size S. Place 1″ below neckline, centered. Art file to be provided separately.” |
This annotation transforms the board from an artistic reference into a specification document. It answers the factory’s implicit questions before they even ask.
From Moodboard to Tech Pack: The Next Step
A moodboard is the strategic foundation. The tech pack is the tactical blueprint. Never submit a moodboard alone for production. Your manufacturer will expect a tech pack that includes:
- Flat Sketch (Technical Flat): A 2D, proportionally accurate drawing of the garment, front and back, with all measurements callouts.
- Point of Measure (POM) Diagram: A clear diagram showing exactly where each measurement (chest, waist, sleeve length, etc.) is taken.
- Bill of Materials (BOM): A detailed list of every material: fabric (with approved vendor & lot number if known), rib, thread, zippers, buttons, labels, packaging.
- Construction Details: Stitch type (e.g., 4-thread overlock for side seams), seam allowance, topstitching details, special attachments.
Your moodboard should directly feed into this tech pack. The color codes from your moodboard’s palette go into the BOM. The fabric swatch photos and weights define the fabric spec. The construction close-ups become the stitch diagrams. Presenting them together shows the factory you understand the process and have done your homework, which builds trust and often leads to more accurate initial pricing and sampling.
More advice: How Often Is the World Cup? Understanding Apparel Cycles for Brands & Buyers
Common Pitfalls & How to Avoid Them
Pitfall 1: “It’s Like This Picture” Without Context. A photo of a vintage faded tee tells the factory nothing about how to achieve that fade (enzyme wash? garment dye? stone wash?). You must specify the intended wash technique.
Pitfall 2: Overlooking Performance. For activewear, aesthetics are secondary to function. If your moodboard features a lightweight, drapey fabric for a tracksuit meant for cold-weather training, you have a conflict. Always cross-reference the vibe with the end-use. A gym hoodie needs warmth, wicking, and durability—the moodboard must reflect fabrics that deliver that.
Pitfall 3: Ignoring Minimums & Cost. Your moodboard might specify a rare, Japanese selvage denim for a custom jogger. But if your order is for 500 units, that fabric may be unavailable or astronomically expensive. Early in the research phase, consult with your manufacturer about fabric availability and minimum order quantities (MOQs). A good OEM partner will help you pivot to a more viable, cost-effective alternative that achieves the same visual goal.
The Final Checklist: Is Your Moodboard Factory-Ready?
Before you send it out, run through this list:
- [ ] Does it clearly state the target retail price point or quality tier (e.g., premium, mainstream, budget)?
- [ ] Are all colors identified with numeric references (Pantone, hex, or lab dip numbers)?
- [ ] Are all fabrics described with weight (GSM), composition, and finish?
- [ ] Is the fit described with reference points (relaxed, athletic) or actual measurements?
- [ ] Are trims (zippers, buttons, labels) specified by type and, where possible, manufacturer (e.g., YKK)?
- [ ] Does it include construction notes for key areas (neckline, cuffs, hem)?
- [ ] Is the end-use/activity clearly defined (e.g., “high-intensity gym,” “casual streetwear,” “team travel”)?
- [ ] Have you attached or referenced a separate tech pack with flat sketches and POMs?
Conclusion: Your Moodboard is Your First Quality Control Measure
In custom sportswear manufacturing, clarity is king. A moodboard that is rich in visual inspiration but poor in technical detail will lead to a sample that misses the mark, requiring costly revisions. A moodboard that is meticulously annotated and production-aware does the opposite: it empowers the factory to get it right the first time. It demonstrates professionalism, streamlines communication, and ultimately protects your budget and timeline. Treat your moodboard not as a creative indulgence, but as the foundational contract for quality between your vision and the factory’s capability.
Ready to translate your vision into a manufactured reality? We manufacture all the styles discussed in this guide — with custom labels, fabric options, and print or embroidery finishing. Tell us what you need.
Tags: moodboard for fashion